Abishek Muthian
Butt Pomodoro - A butt triggered pomodoro timer
A need gap of Remind me to take break when working from home was recently posted. Forgetting to take regular breaks when immersed with work in front of a computer is a common problem, especially when working from home.
On the flip side, getting distracted from completing a task is also a common problem.
Why pomodoro?
Pomodoro technique is to work in 25 minutes intervals called pomodoro, taking 5 minutes break every pomodoro and taking a 30 minutes break after 4 pomodoros.
This helps in mitigating focus drift, burn outs and enables us to complete our tasks.
Why butt triggered?
There are no dearth of pomodoro timer based apps in the market, but they require manual trigger of the timer each time we are about to start a task, this is a huge overhead as stated by in the first problem statement.
I personally feel that the activity of constantly interacting with the pomodoro timer is counter-intuitive for productivity and so to address that it needs to be triggered seamlessly without any user action.
Most of us work with the computer while seated on a chair, I figured that triggering the pomodoro timer with a sensor under the seat would fulfil my goals.
Design goals
Simple
The solution should be simple enough to be easily reproducible by many, even by those without the technical know-how of the solution.
Portable
Setup should be easily transportable to any chair, be it at home or office. Hence, facial recognition with machine learning based solution is not being considered.
Inexpensive
Components should be easily available and inexpensive.
Design choices
Sensor
Sensor is needed to trigger the timer when I sit on the chair, basically to serve as a switch.
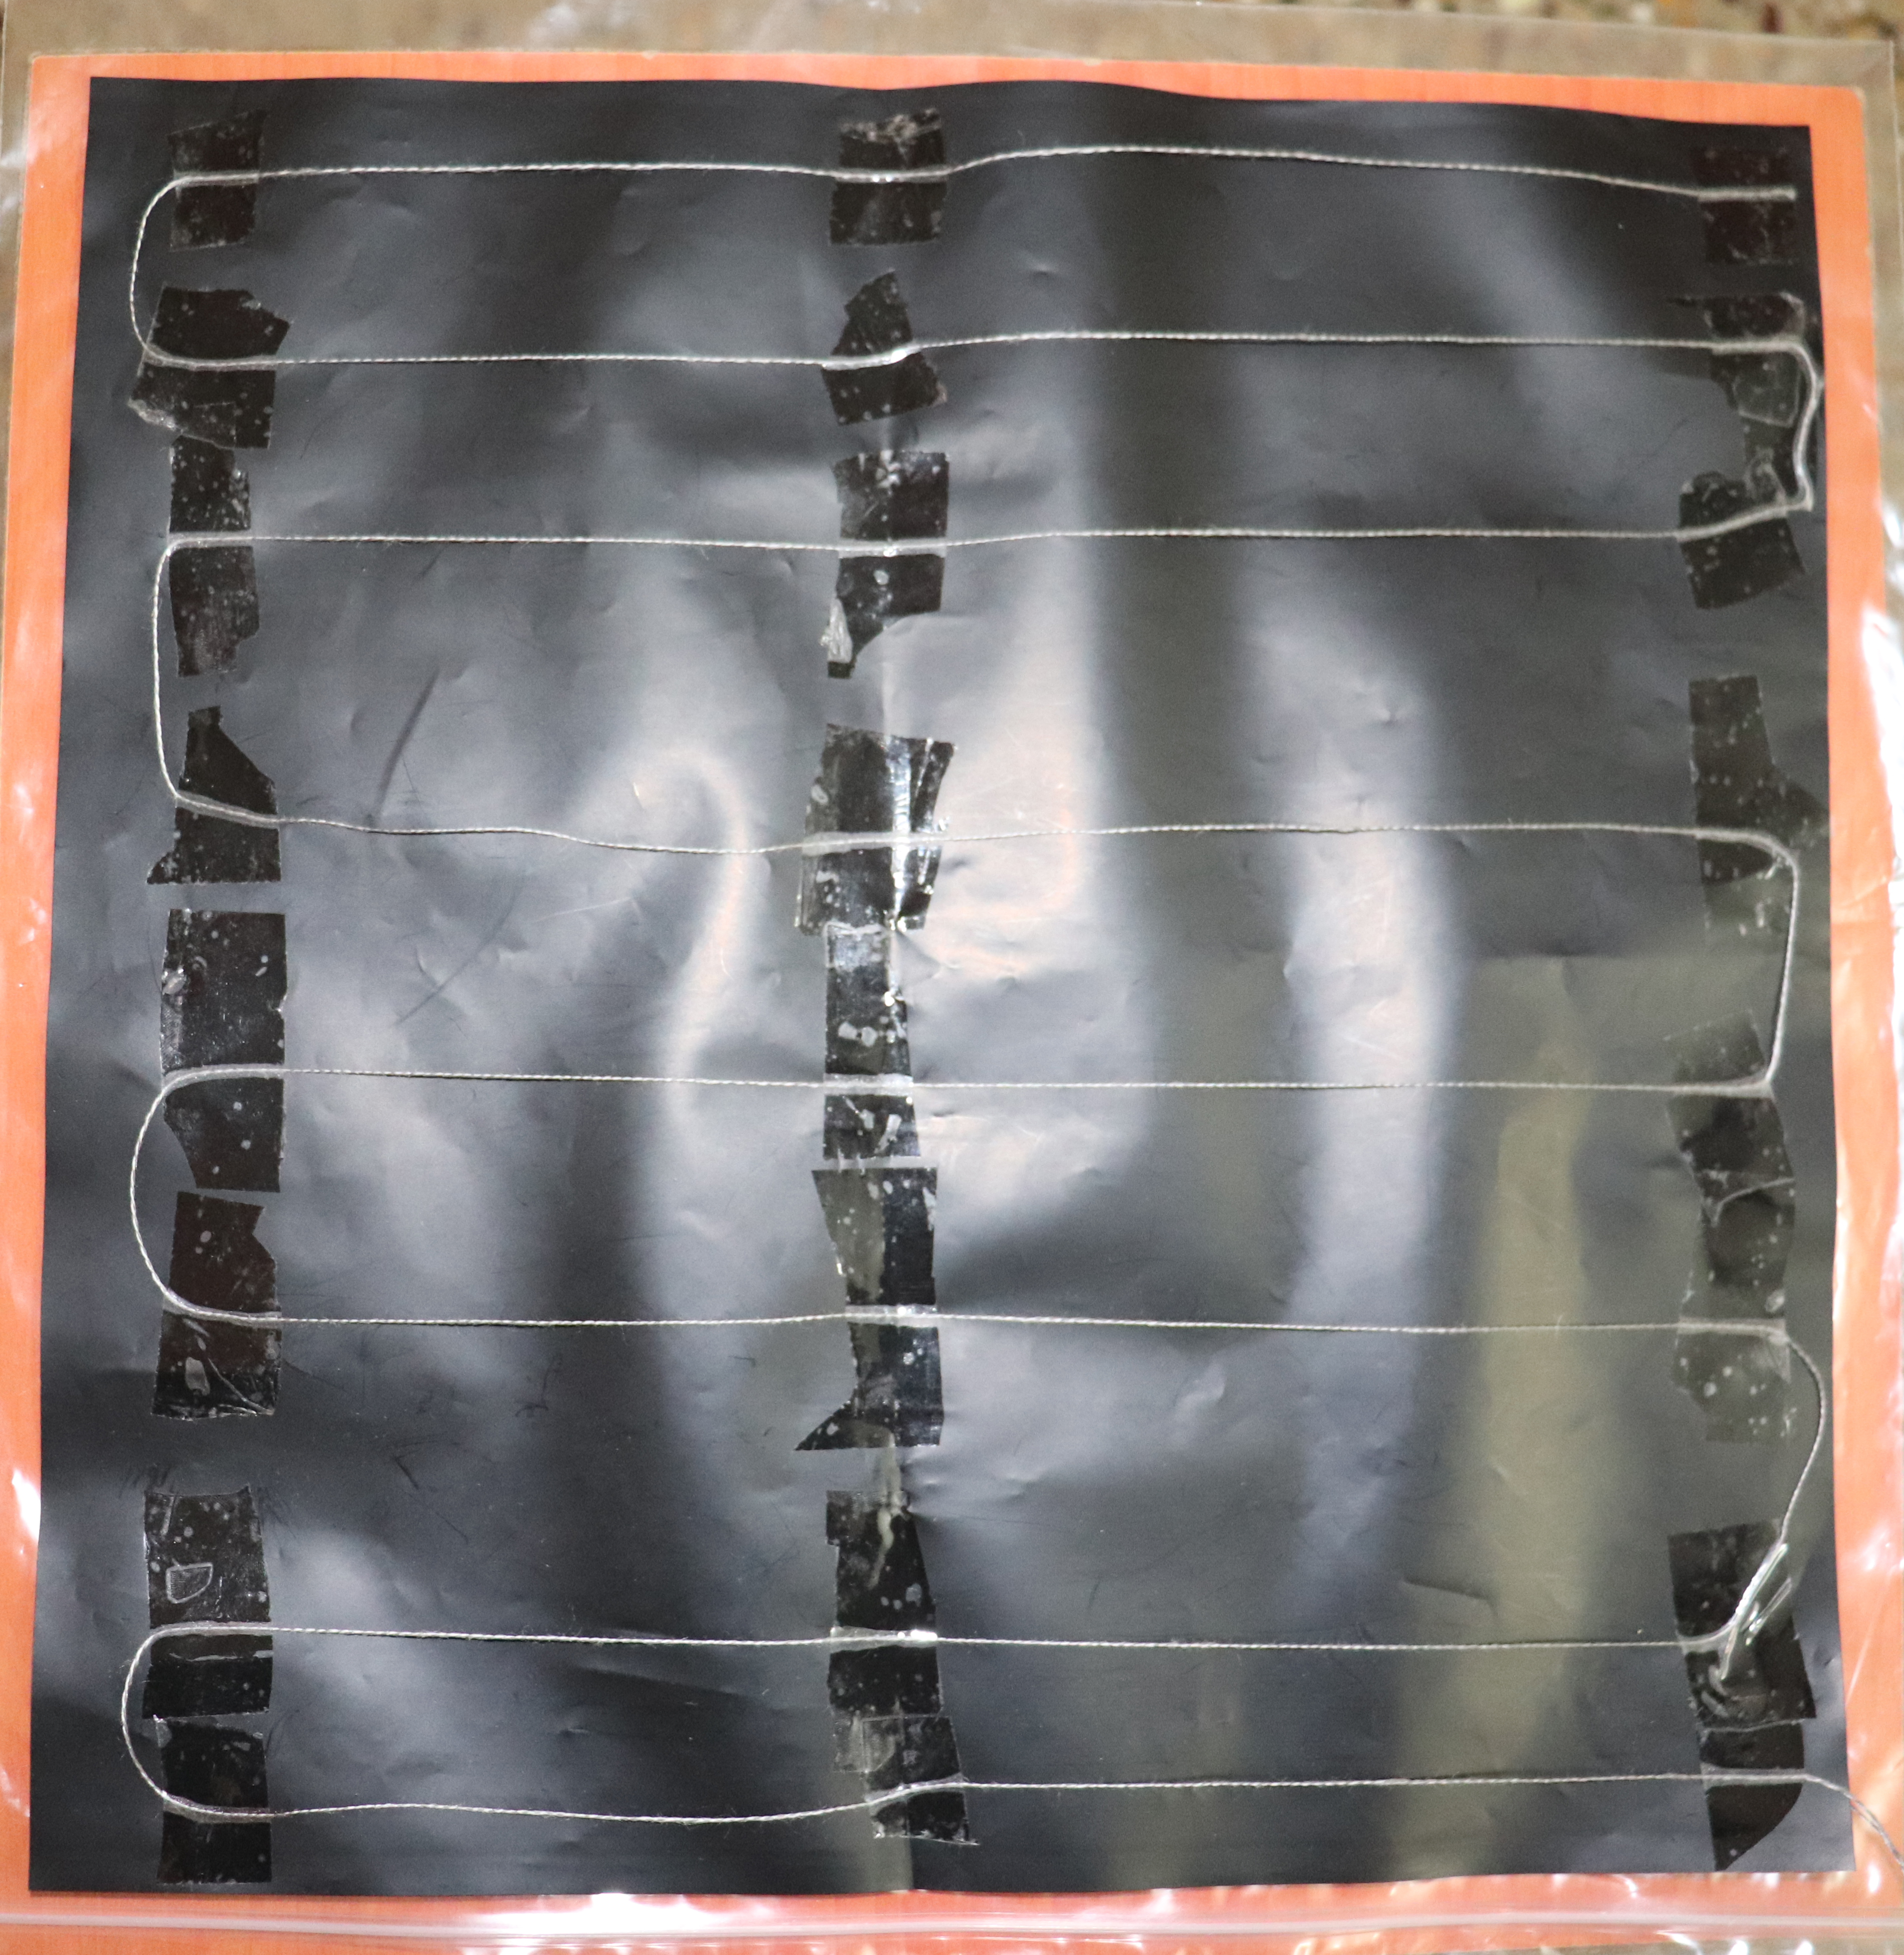
I started with a pressure sensor made with Velostat fabric, since its light weight and could seamlessly fit between the seat cushion and the chair. But the resistance varied too much in my test to serve as a reliable switch and I didn't like the possibility conductive threads setting my ass on fire if they get shorted.
Velostat with Conductive Threads
Trigger
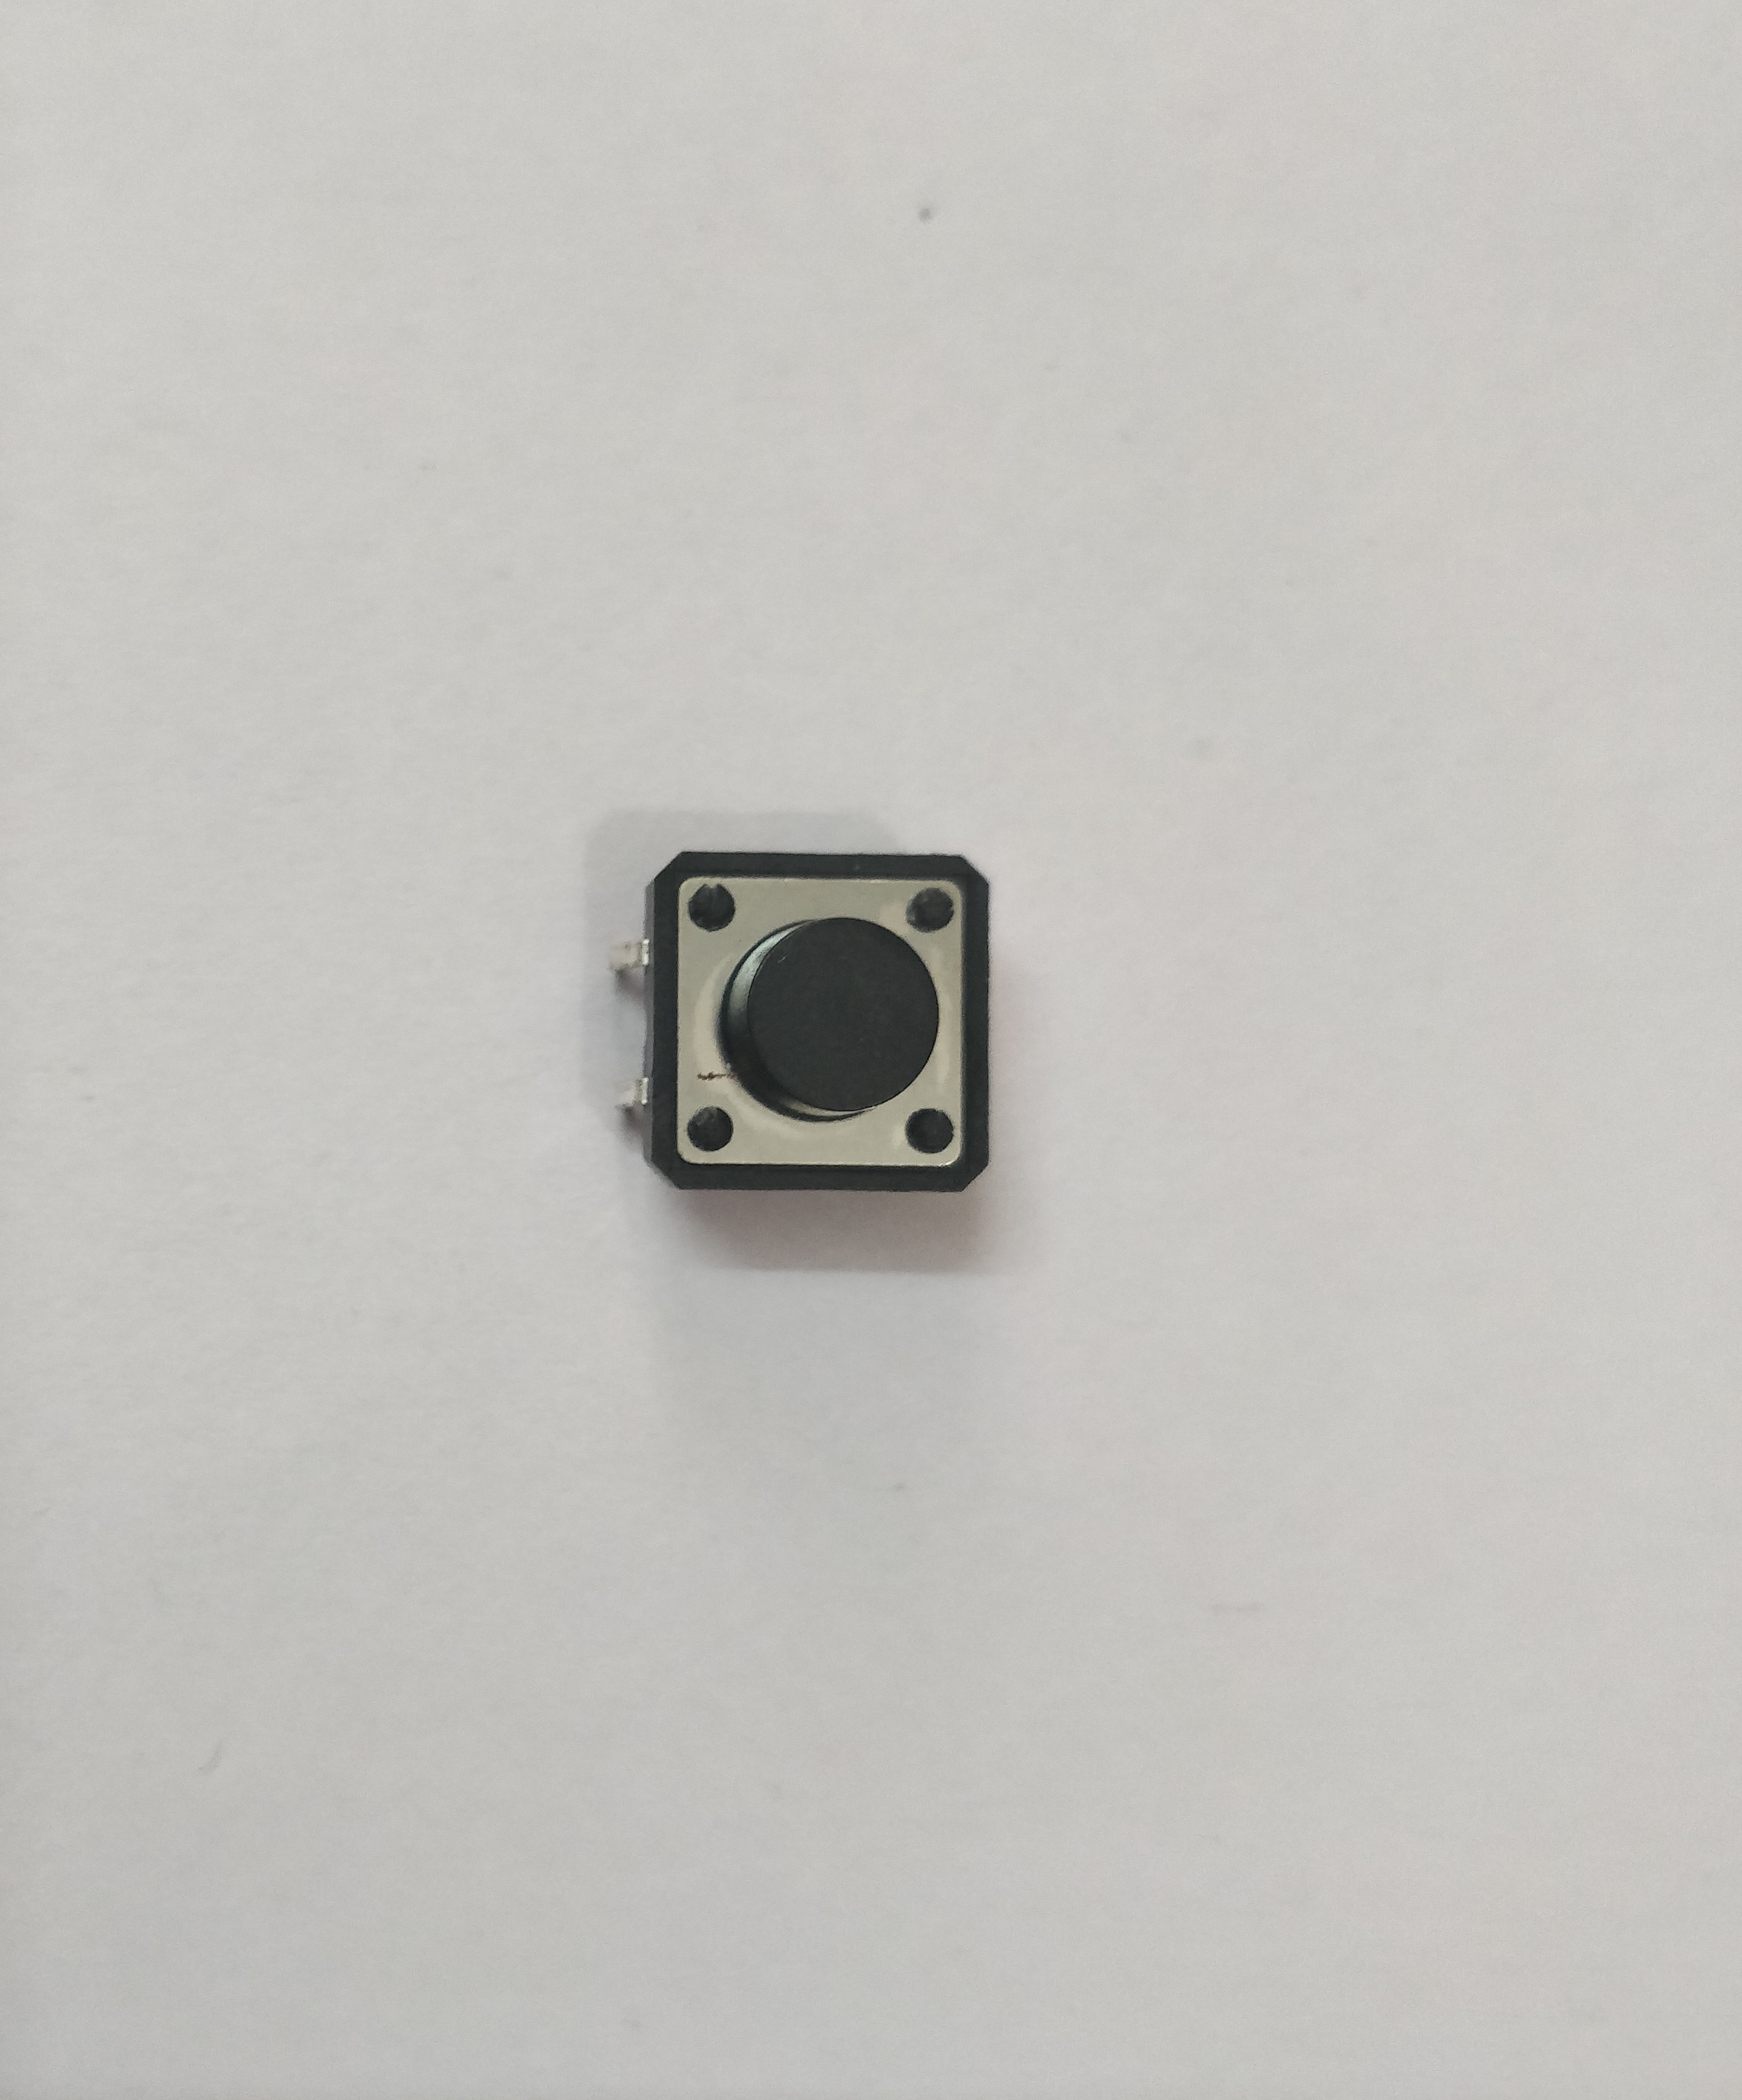
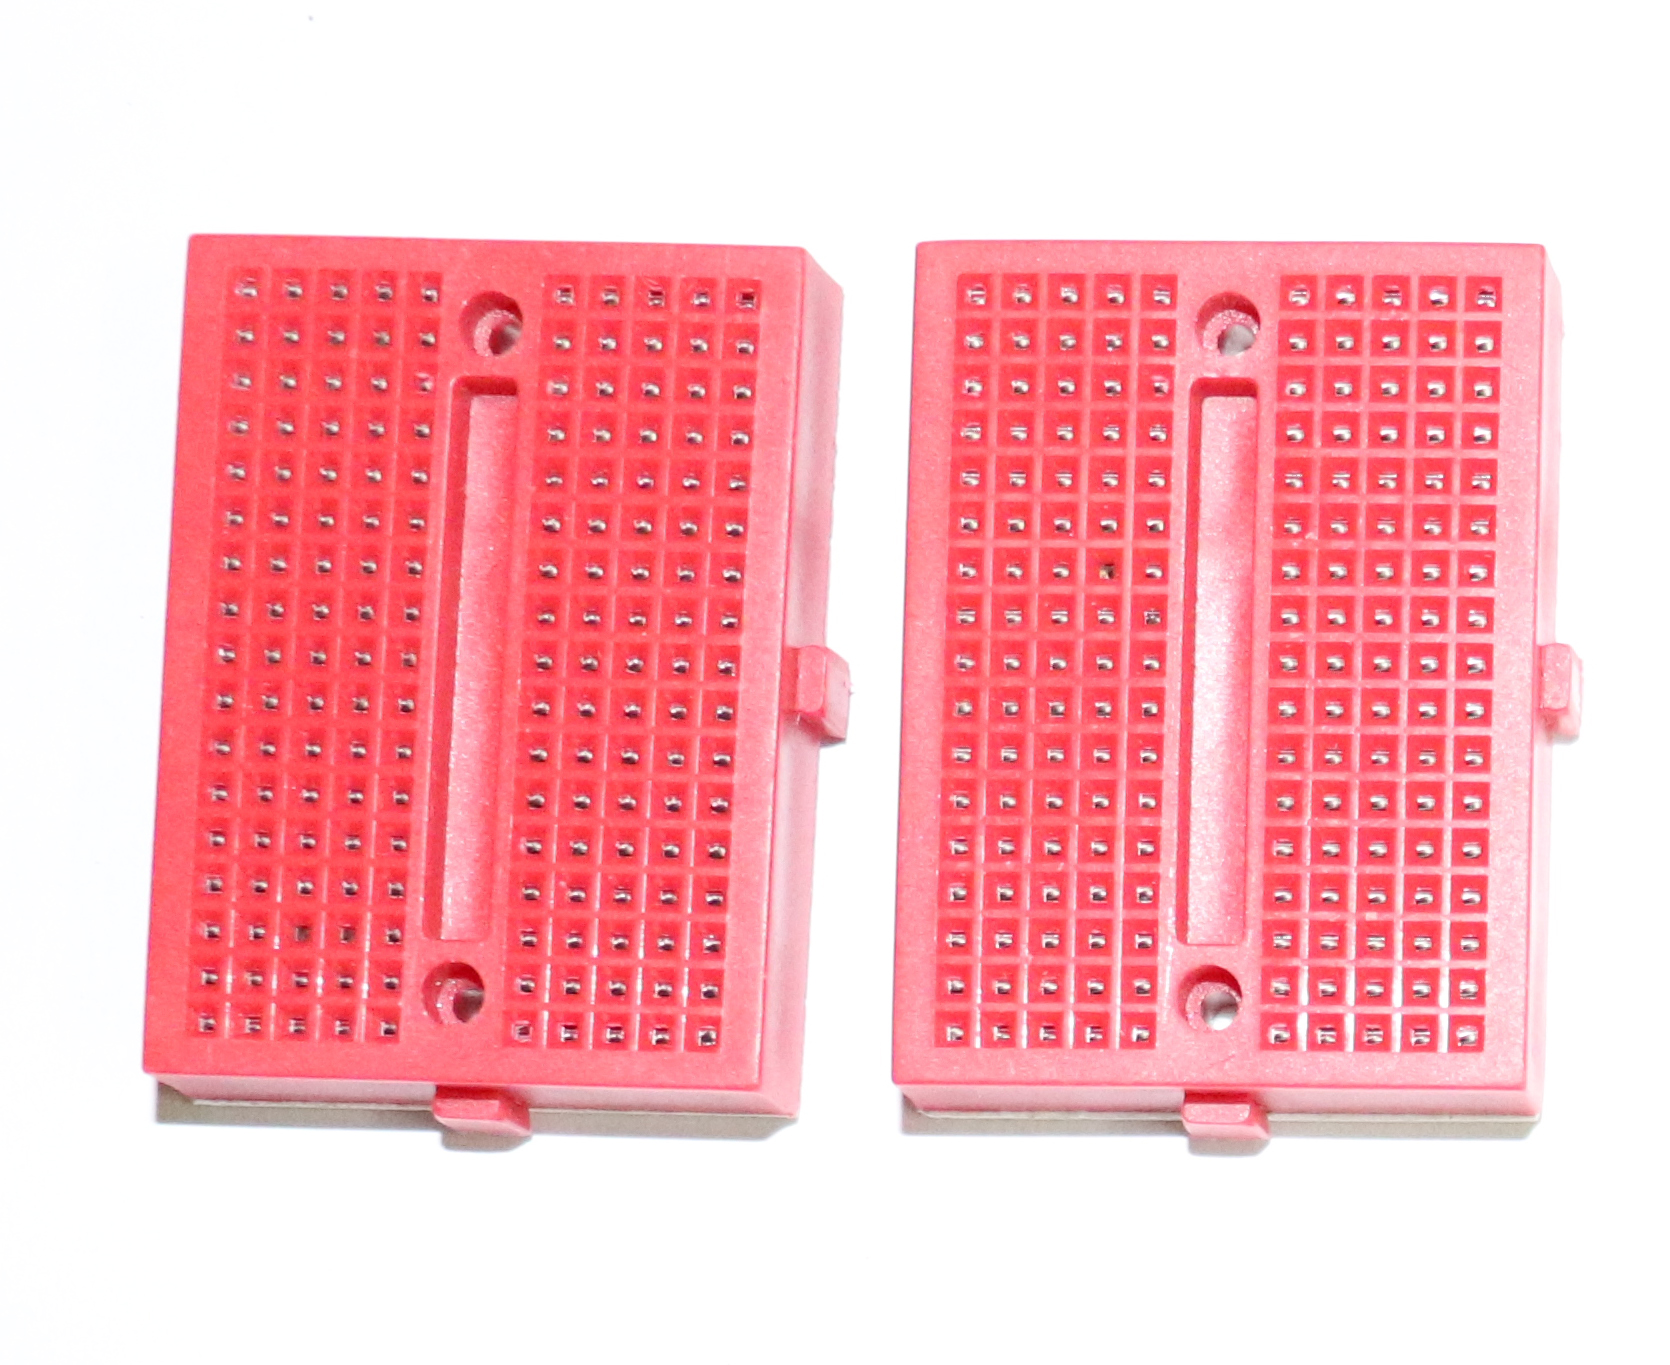
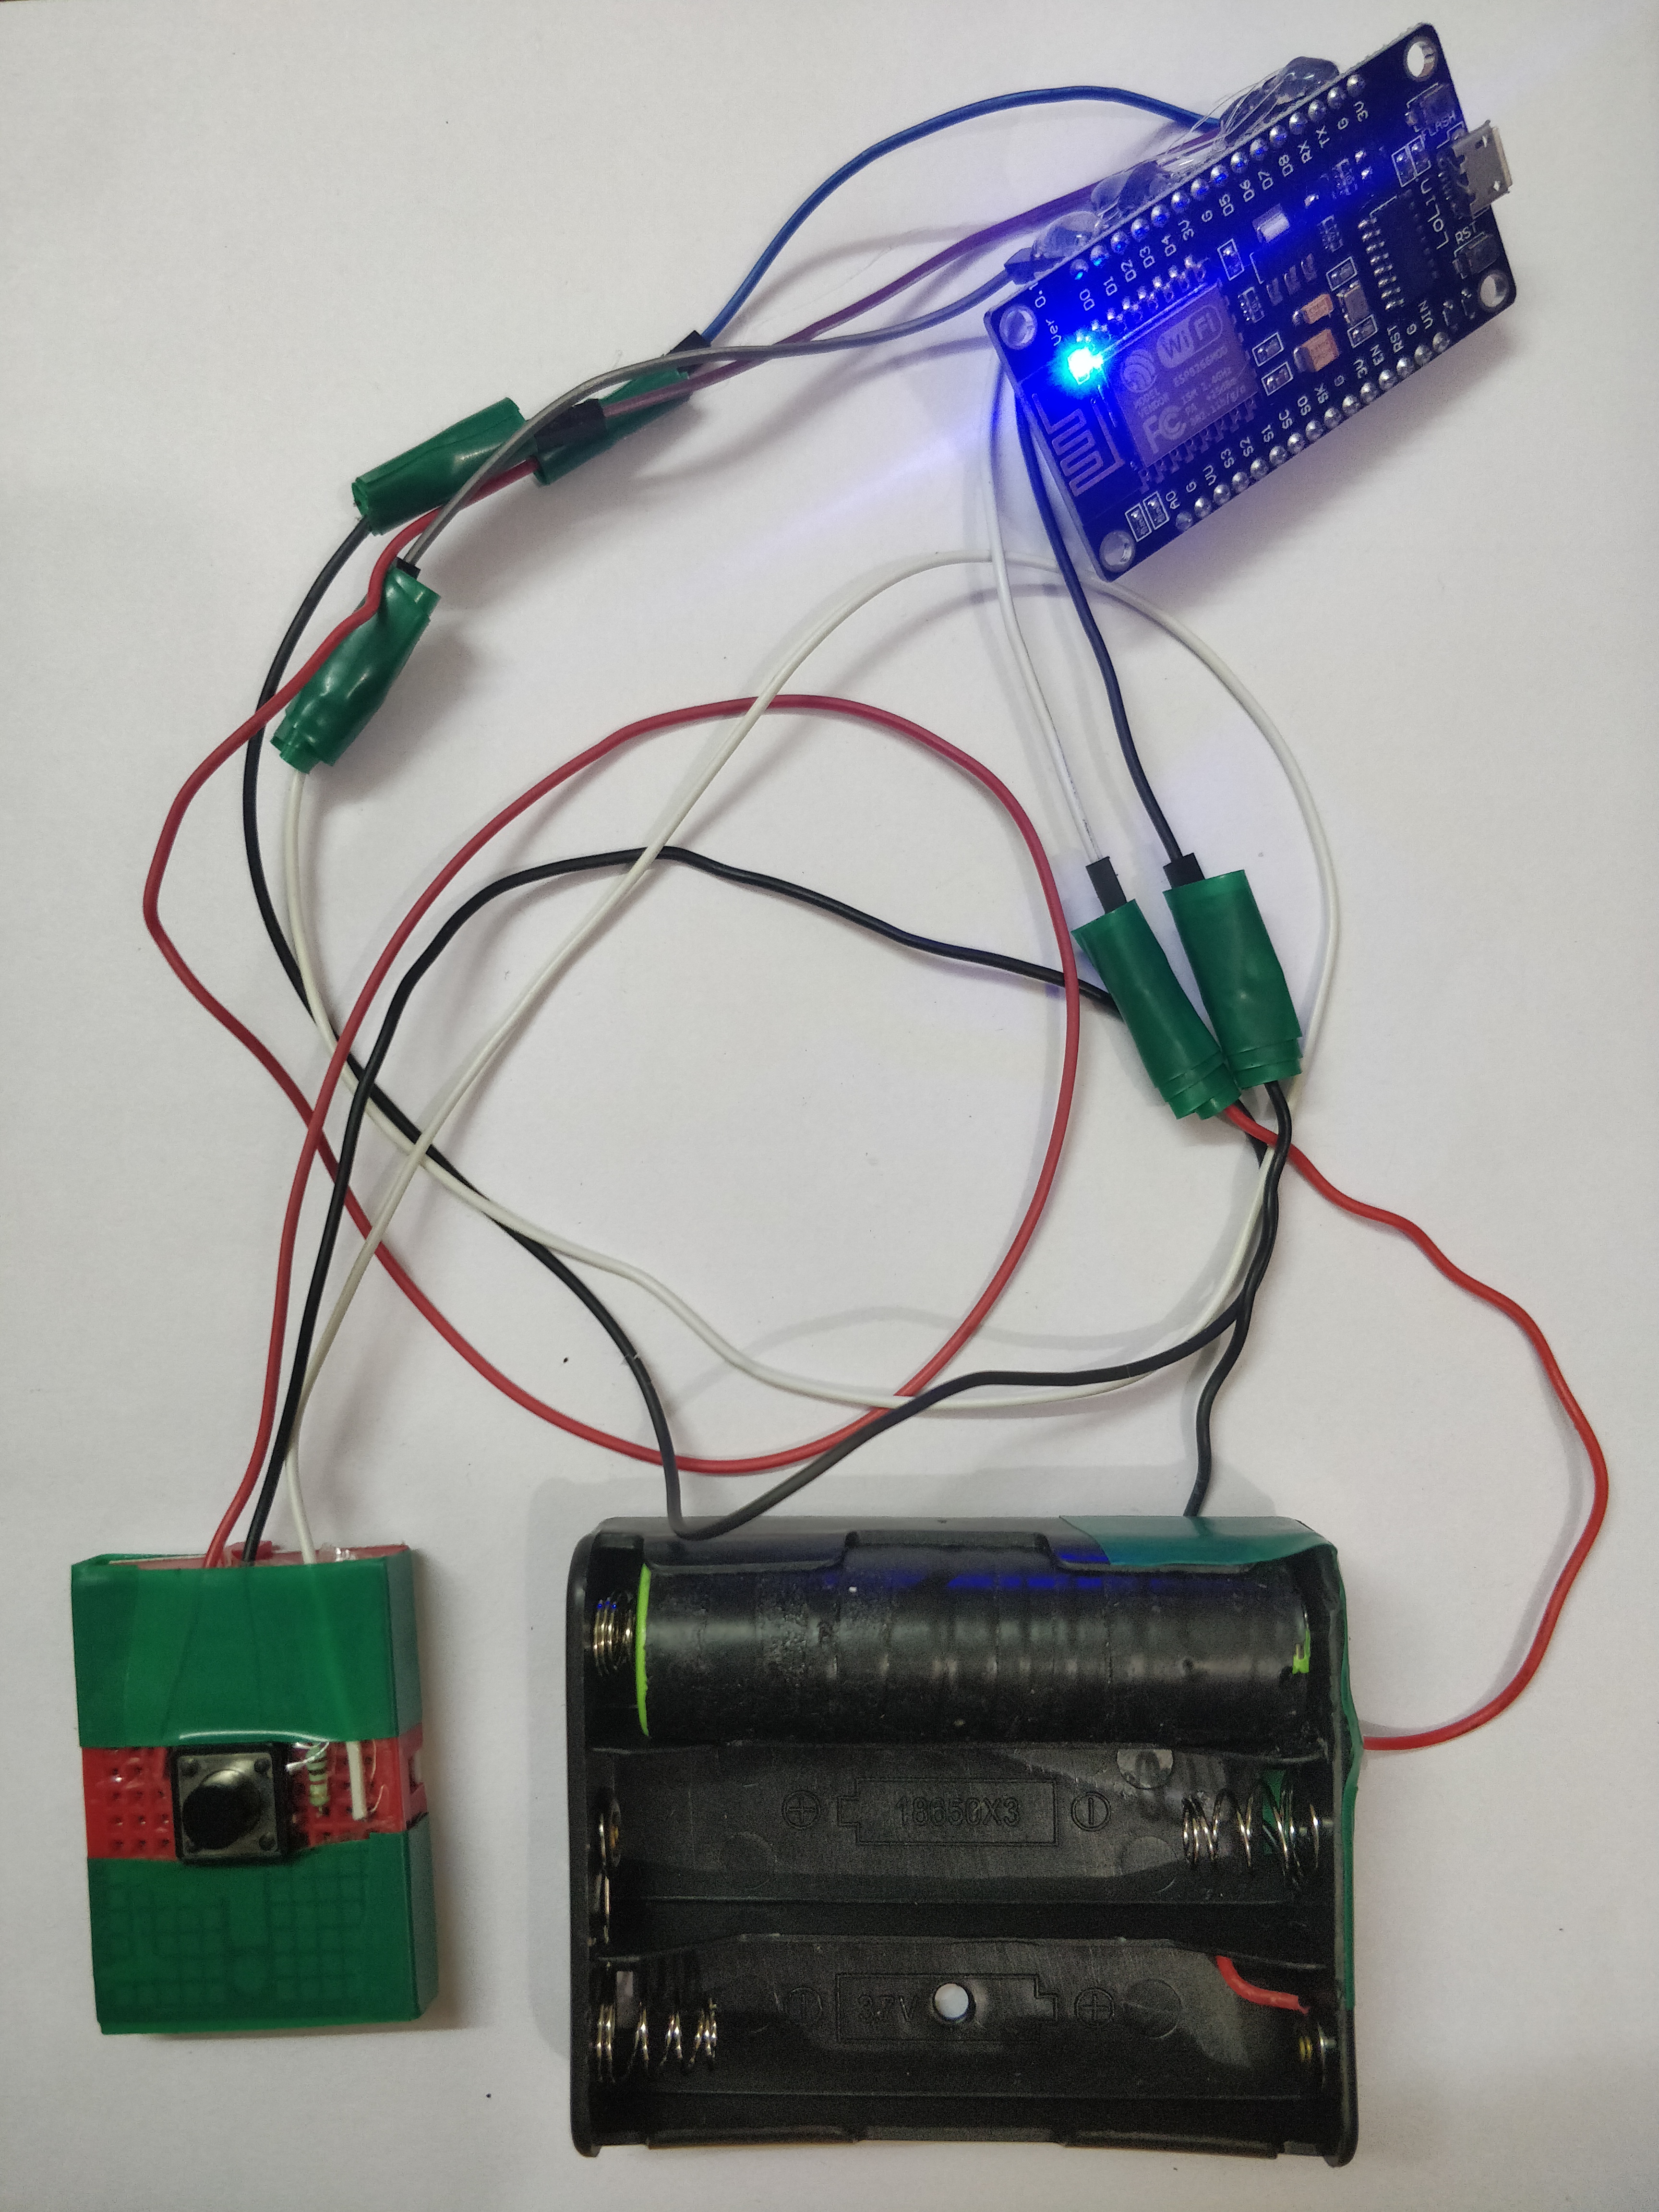
Then I experimented with a standard 12mm momentary button switch on a 170 holes mini breadboard and it served the purpose well. Depending upon your chair, seat cushion and your weight; you might have to choose a button which works well for you.
Momentary Button
Mini Breadboard
Microcontroller
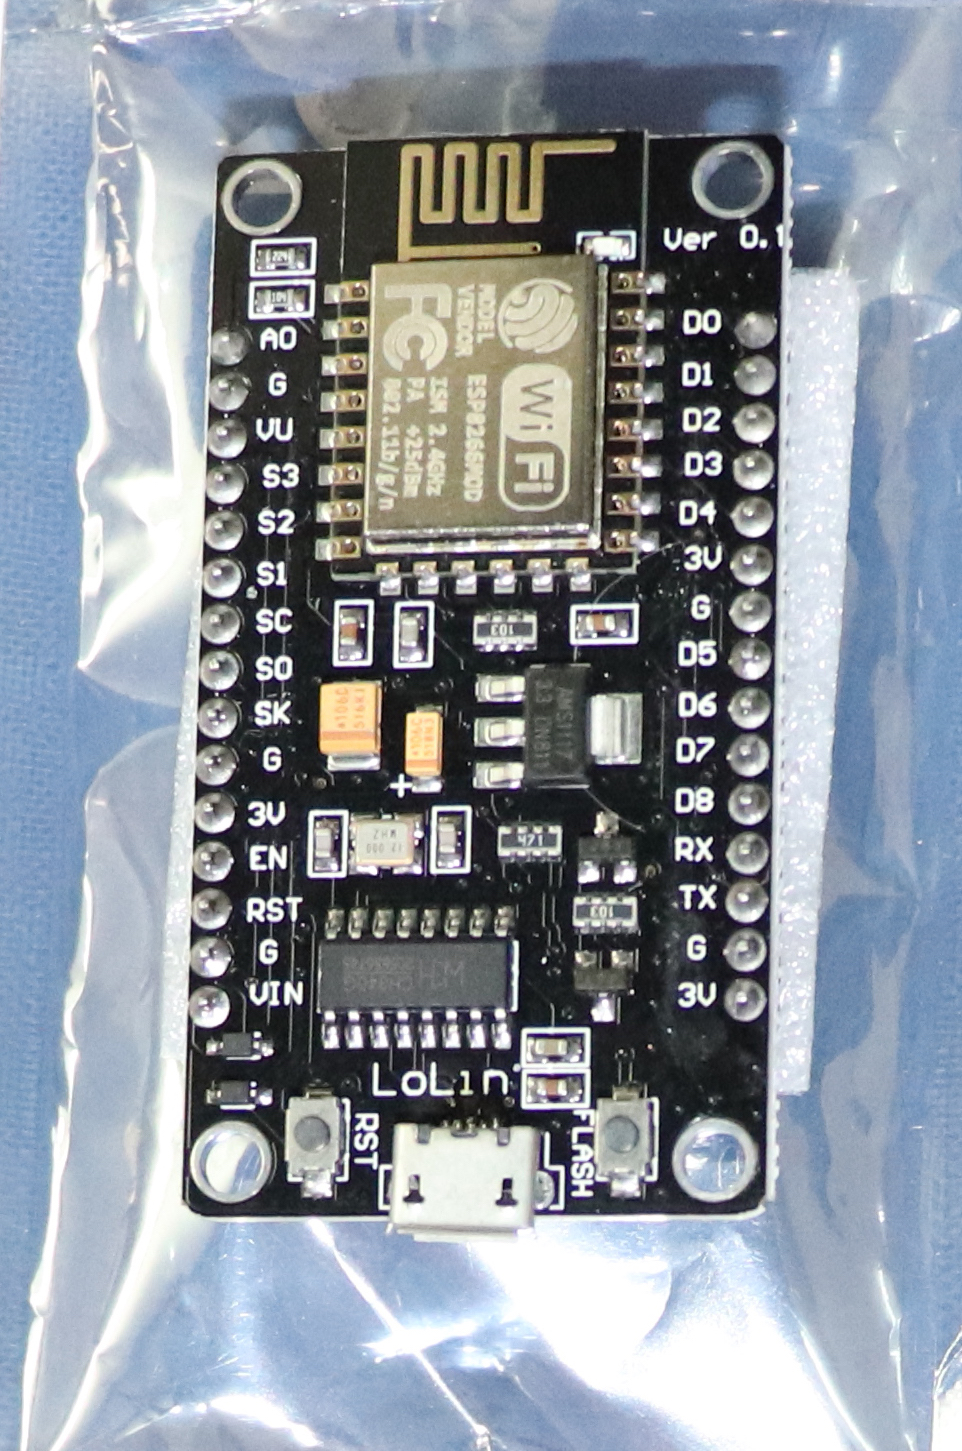
Microcontroller is needed process the input signal from the button, compute the timers and send message to the notifications.
ESP8266 based NodeMCU is being used the microcontroller for this as it has WiFi for communication.
NodeMCU
Power
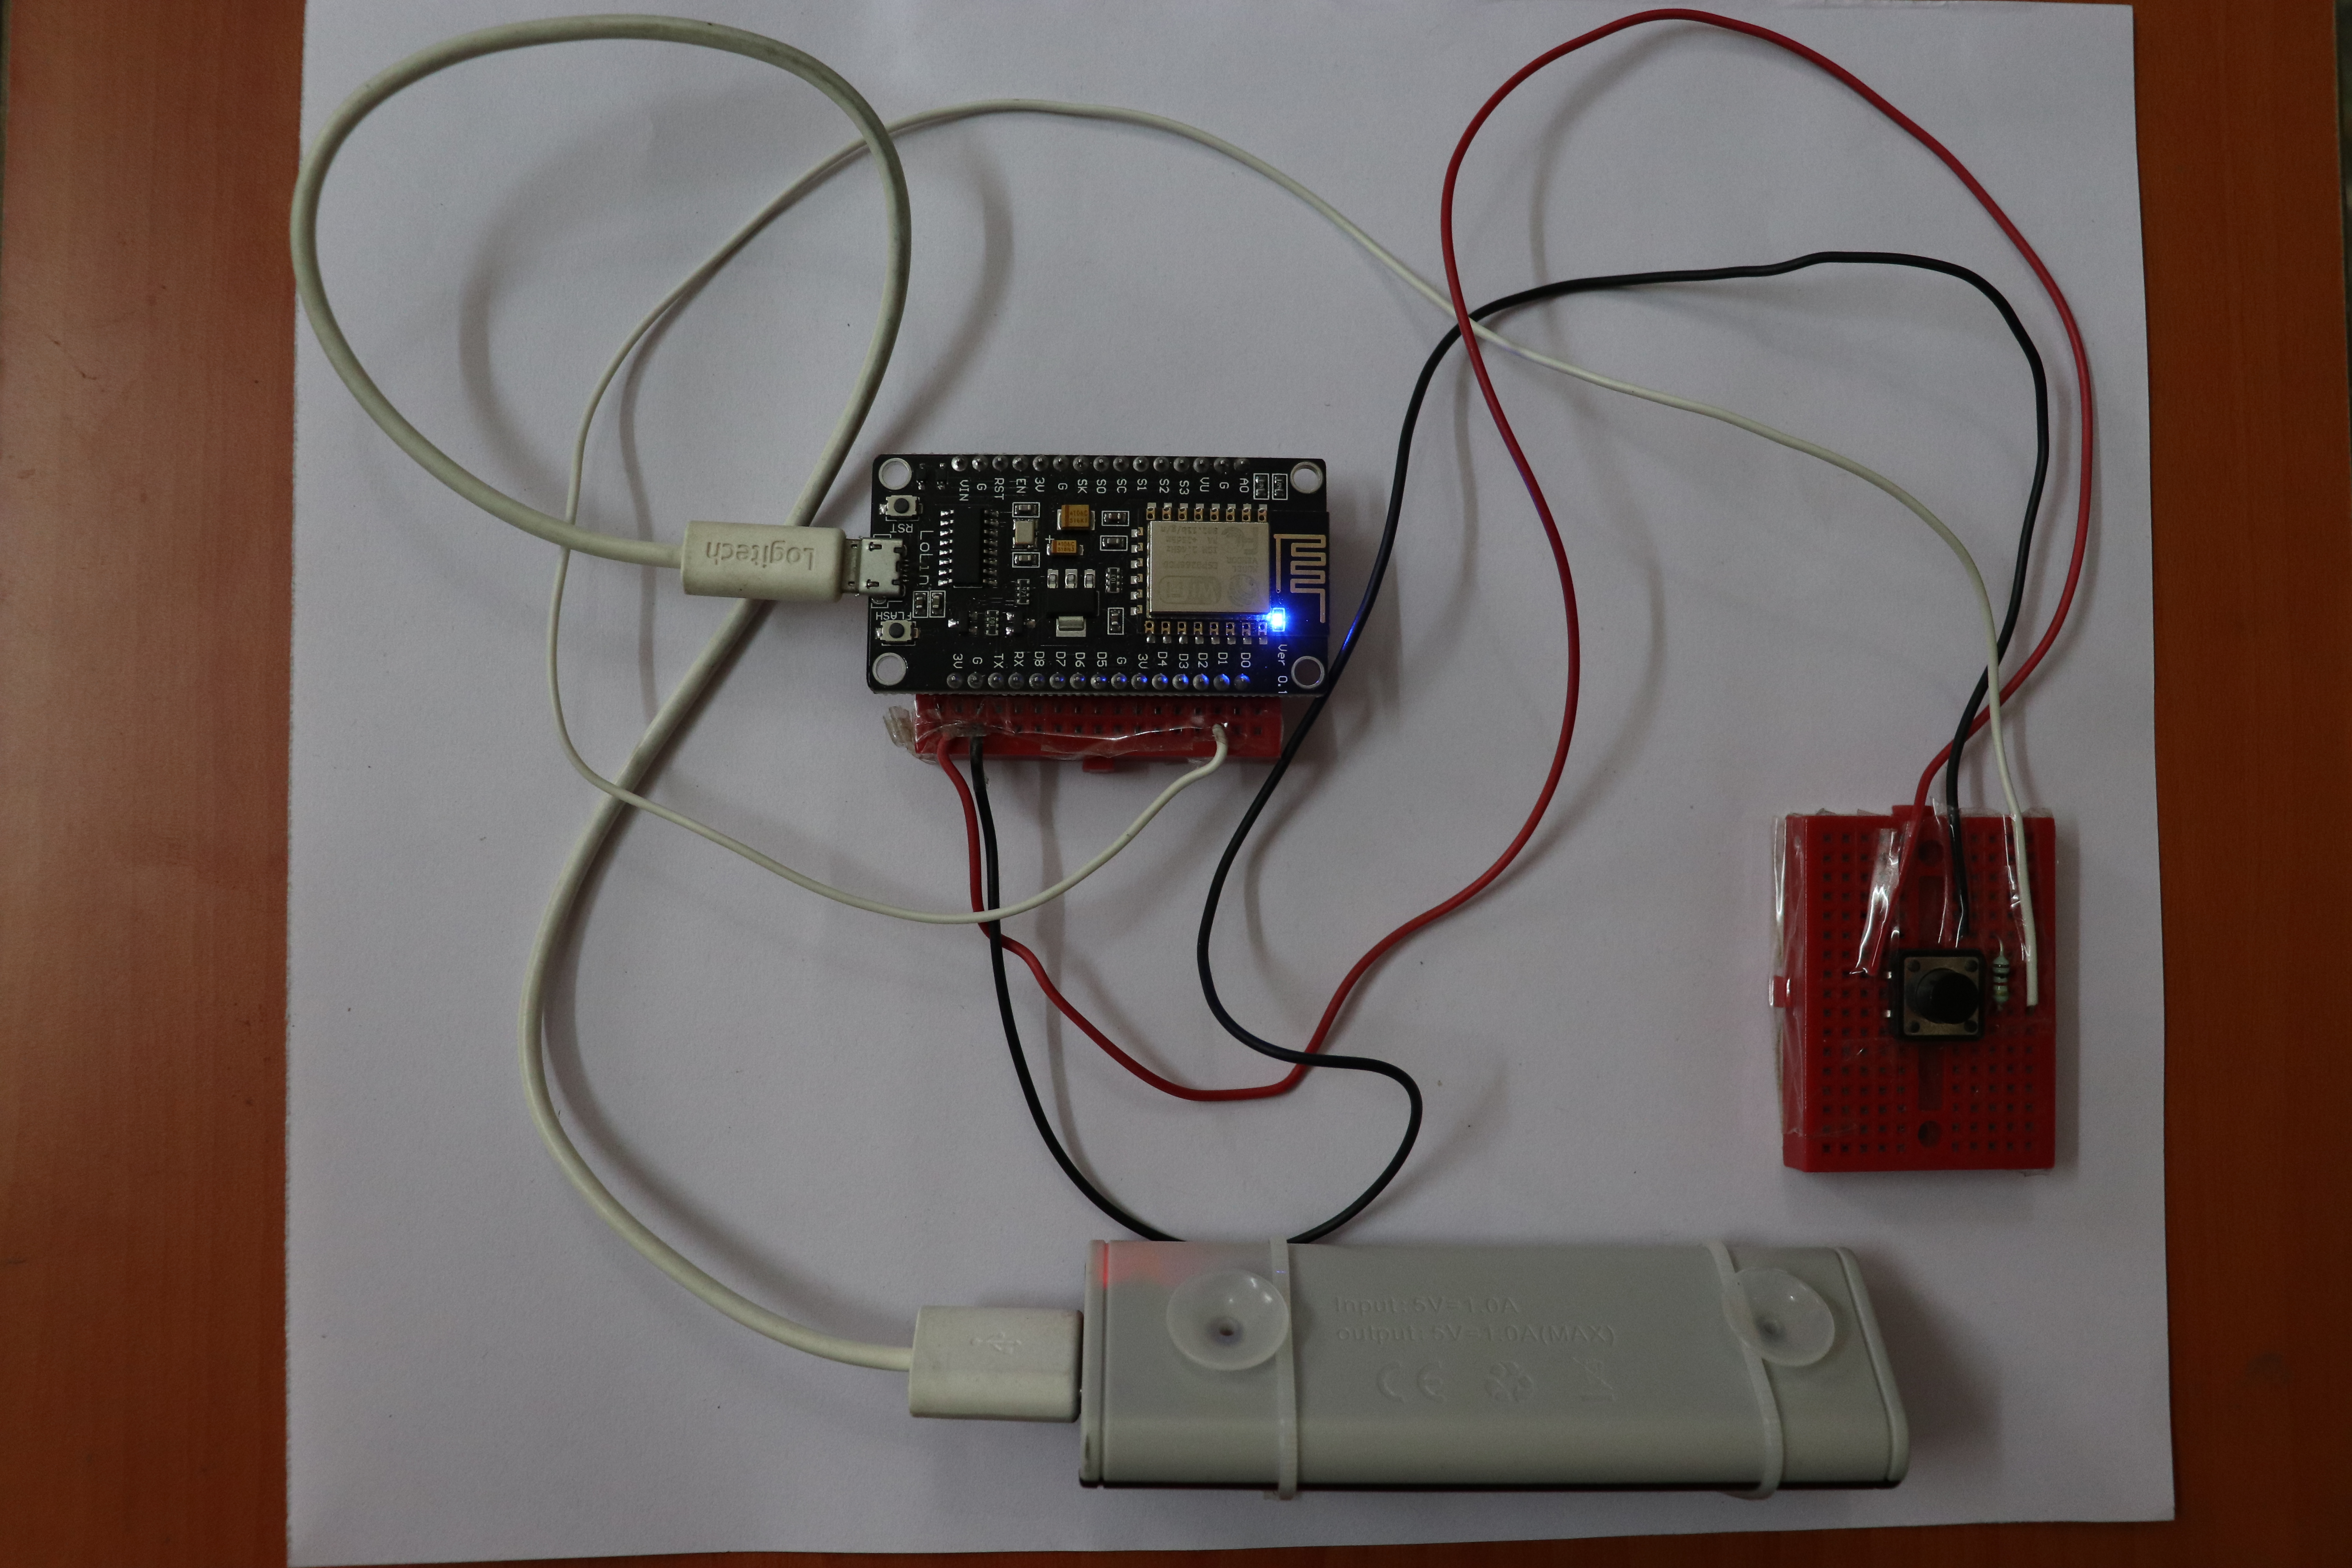
I'm supplying 5V power over microUSB with 18650 power-bank to the NodeMCU.
18650 Power-Bank
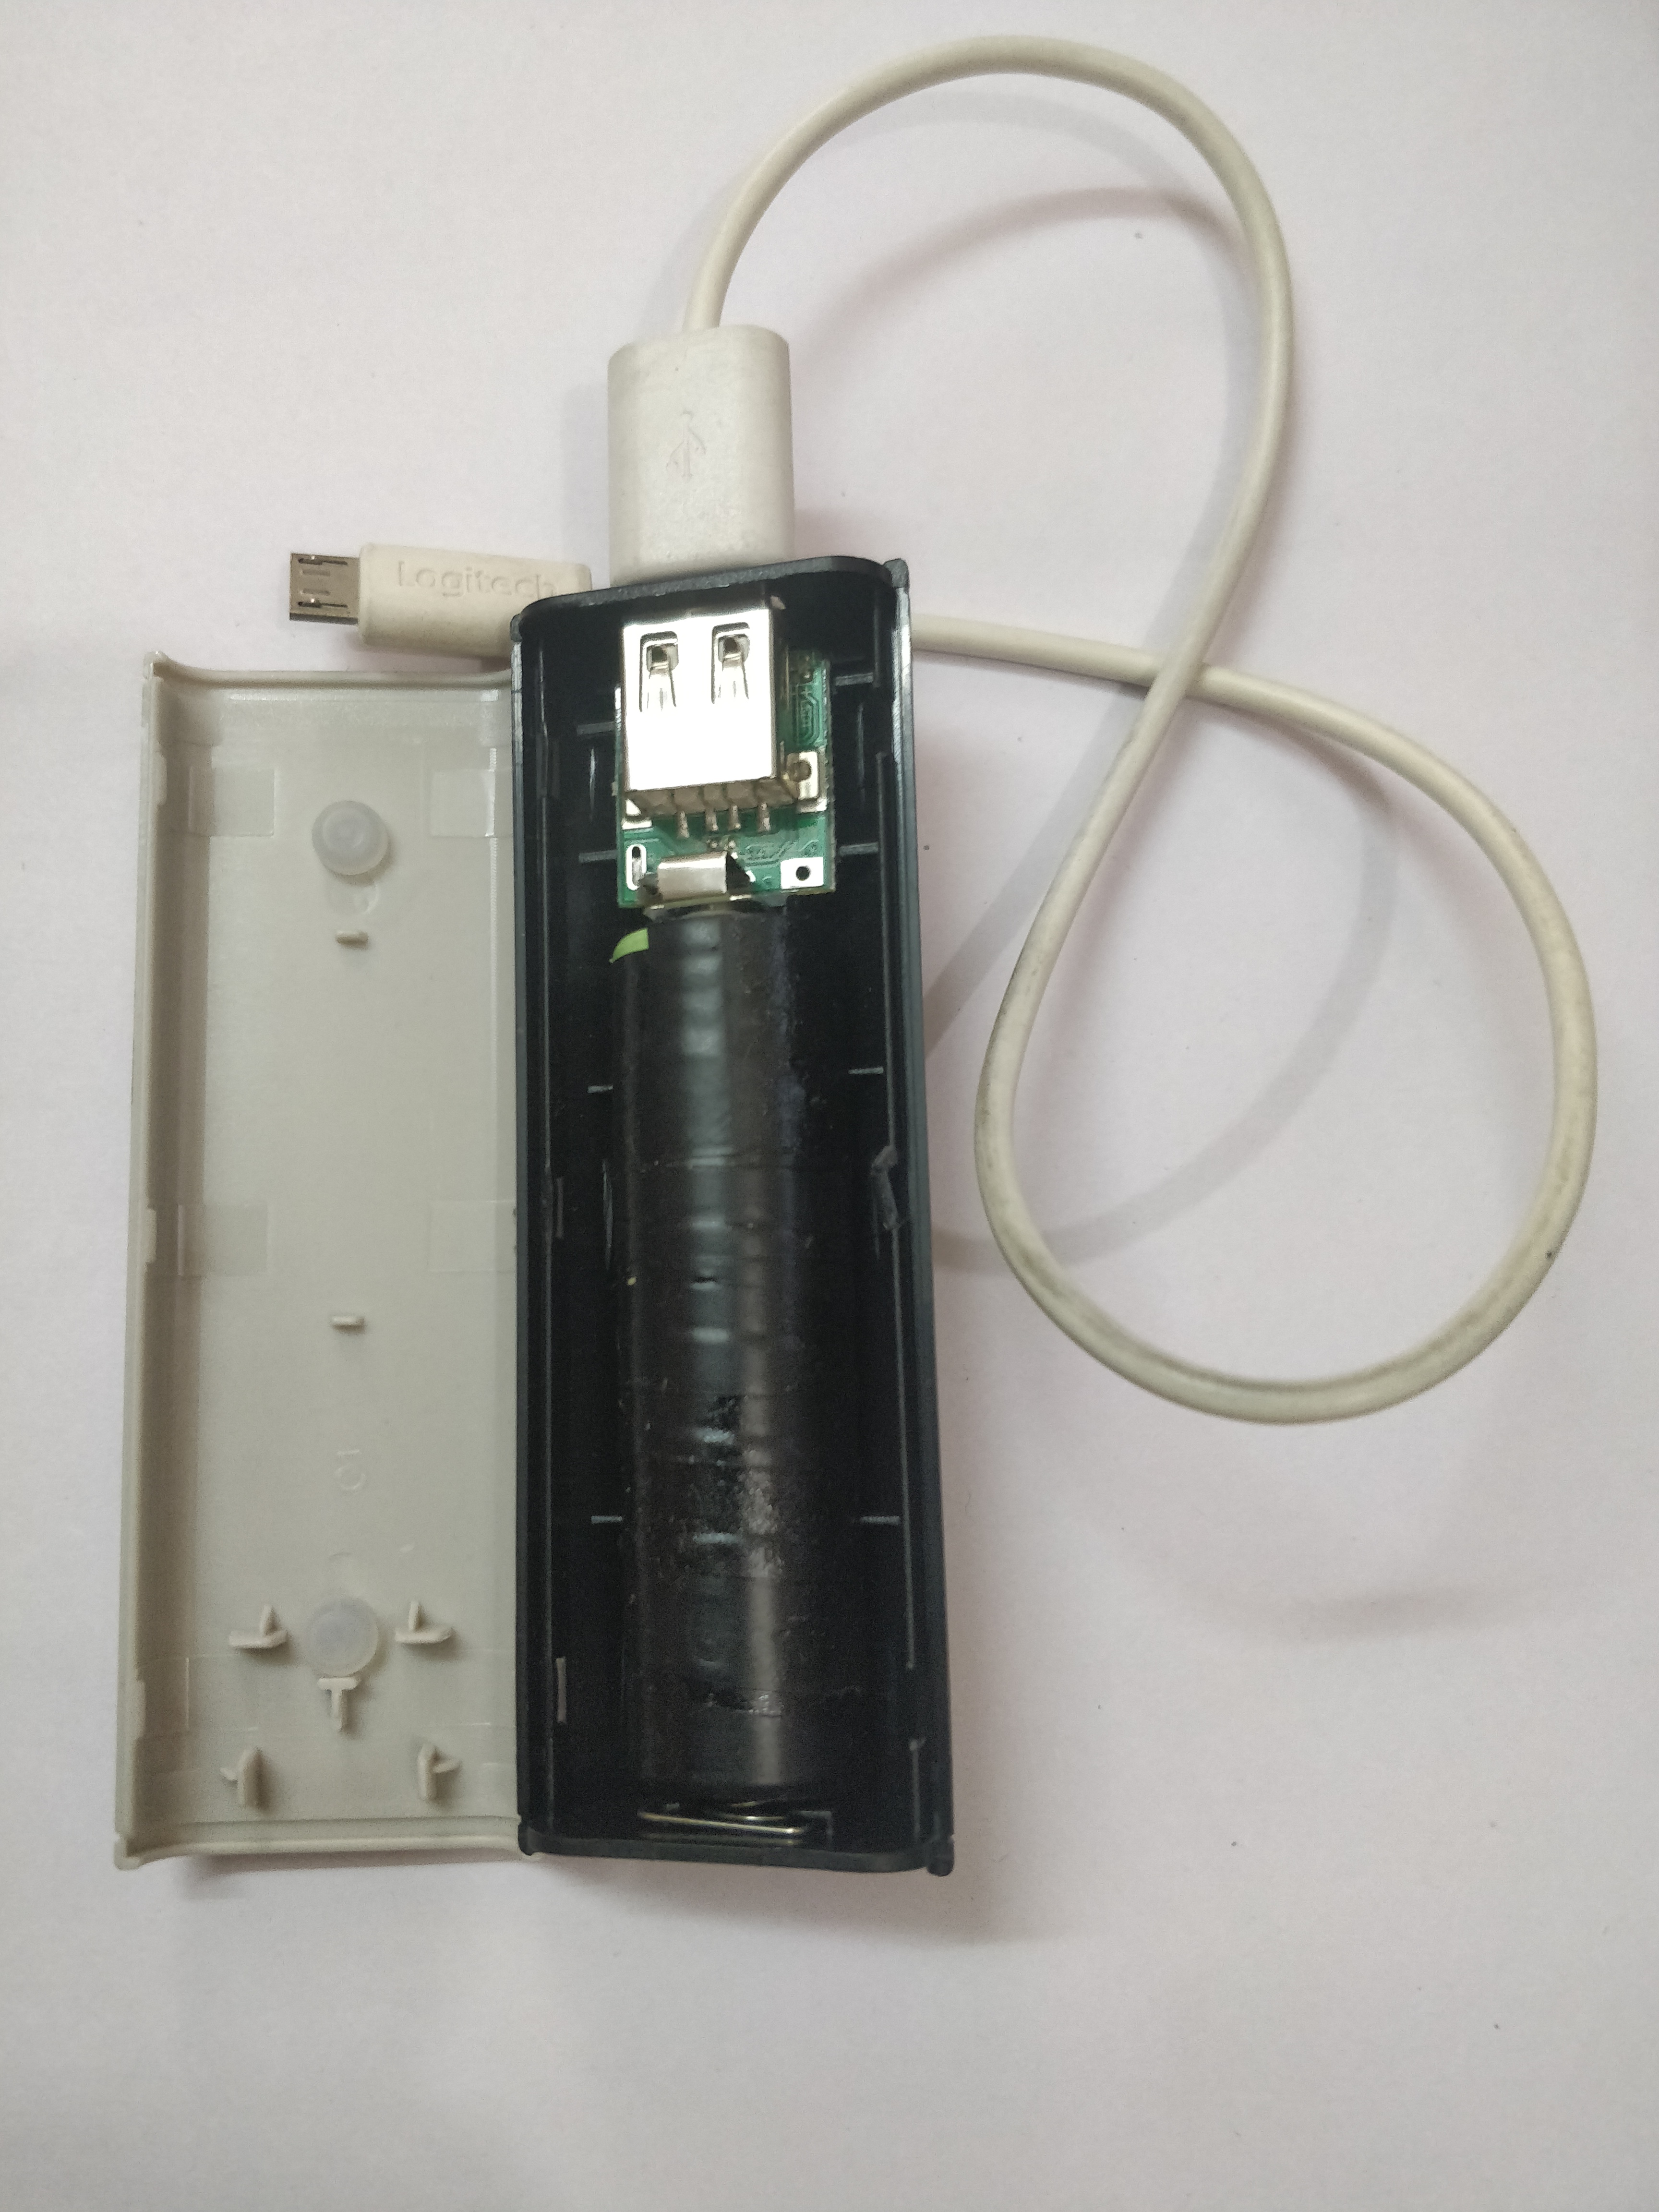
Note: The reliability of this power-bank is questionable as I've had failures, so I would suggest using a simple battery holder instead.
Setup with battery holder, terminals secured with solder, hot glue and tape
Computation
My initial plan was to use the NodeMCU itself for computation as that's what microcontrollers are used for, but stopping the timers at will was bit of a hassle with Arduino code on NodeMCU and decided to leverage the comfort of Go with Gobot using Firmata firmware.
Gobot allows client-server architecture on IoT devices, so NodeMCU can be controlled remotely from a client. The main advantage of using Gobot is that it allows me to modify the code and test it without having to flash it on the NodeMCU each time. I'm running Gobot client on a Raspberry Pi 2 after flashing firmata server on NodeMCU.
Update: Starting and stopping timers with Gobot on NodeMCU within different Goroutines resulted in unnecessary race conditions, deadlocks hence I resorted to calculating elapsed time manually and simple flags to start the timers. I guess, this method could have been easily implemented directly on the NodeMCU with Arduino code, but due to other advantages of using Gobot I'm continuing with it.
Communication
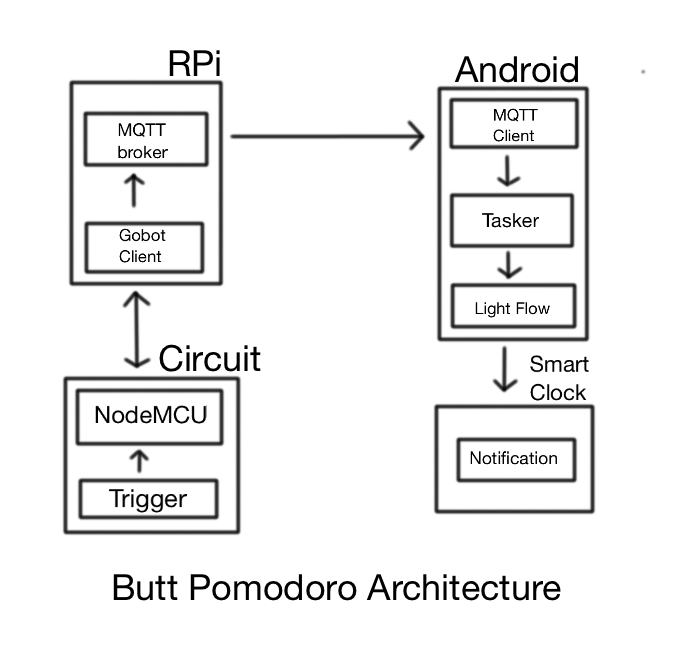
I'm using MQTT protocol for communication between the devices. A MQTT broker(server) runs on the Raspberry Pi along with the Gobot client which acts as the MQTT publisher.
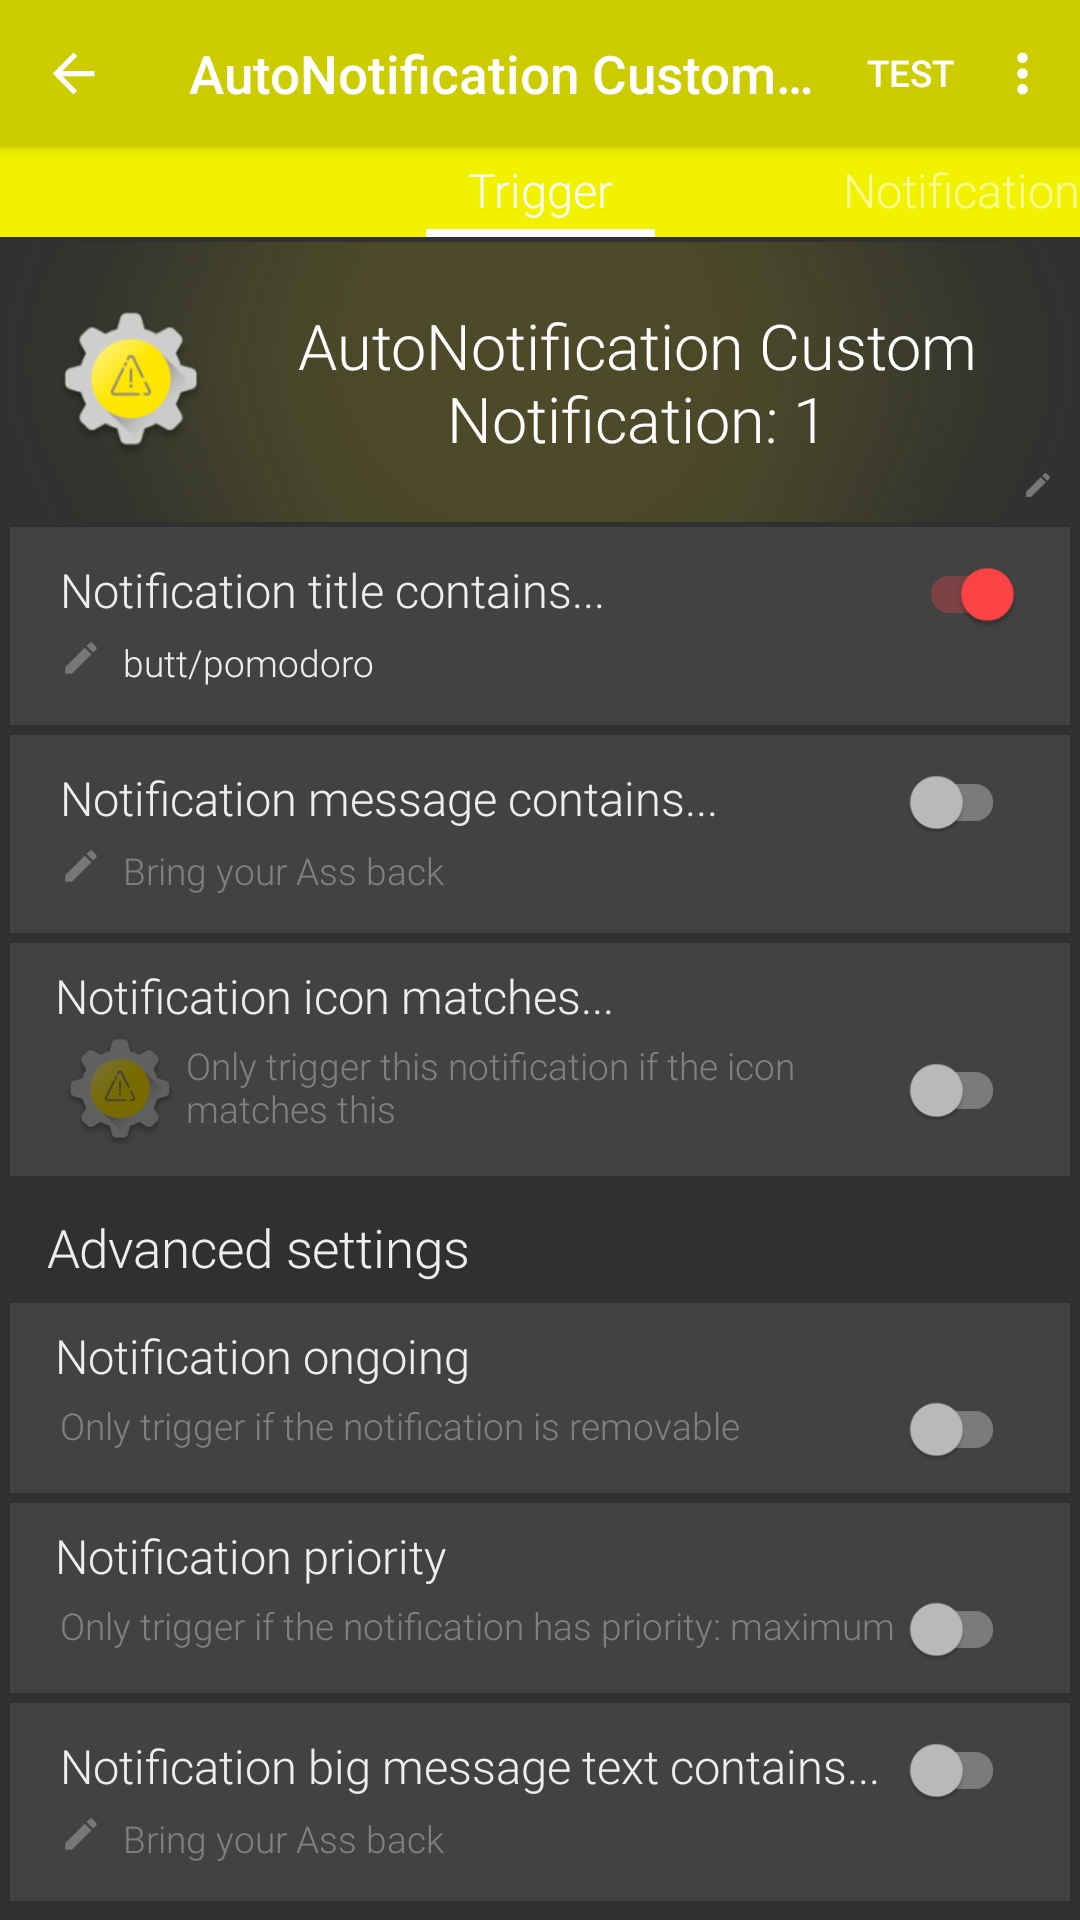
MQTT Client android app is the MQTT subscriber. Tasker android app creates a notification when MQTT client receives the message, displays the notification via Auto Notification Tasker plugin(paid) and Light Flow android app(paid) reads out the notification message and creates custom LED light.
The notification is further received at my desktop smart clock, which is an old android wear smartwatch modified to receive latest Google Play services updates.
MQTT Client

Tasker profile
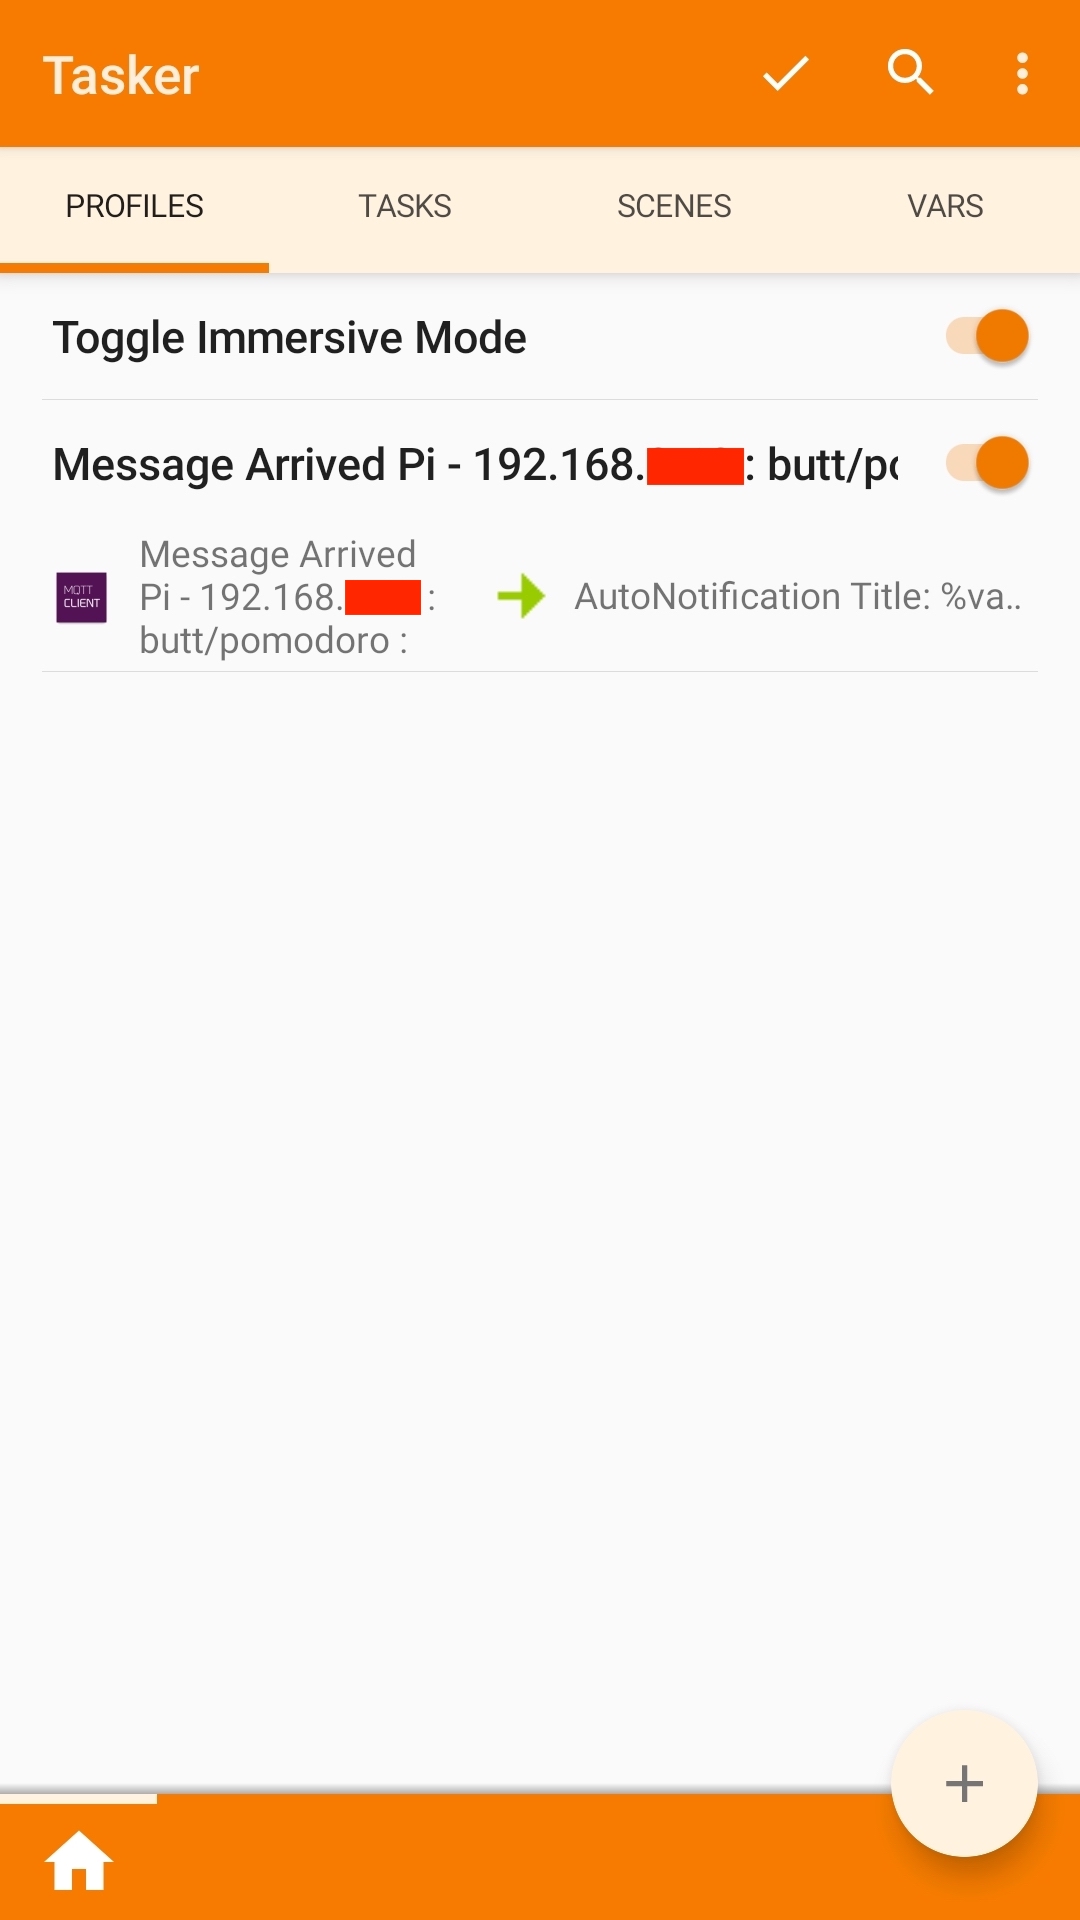
Auto Notification Configuration
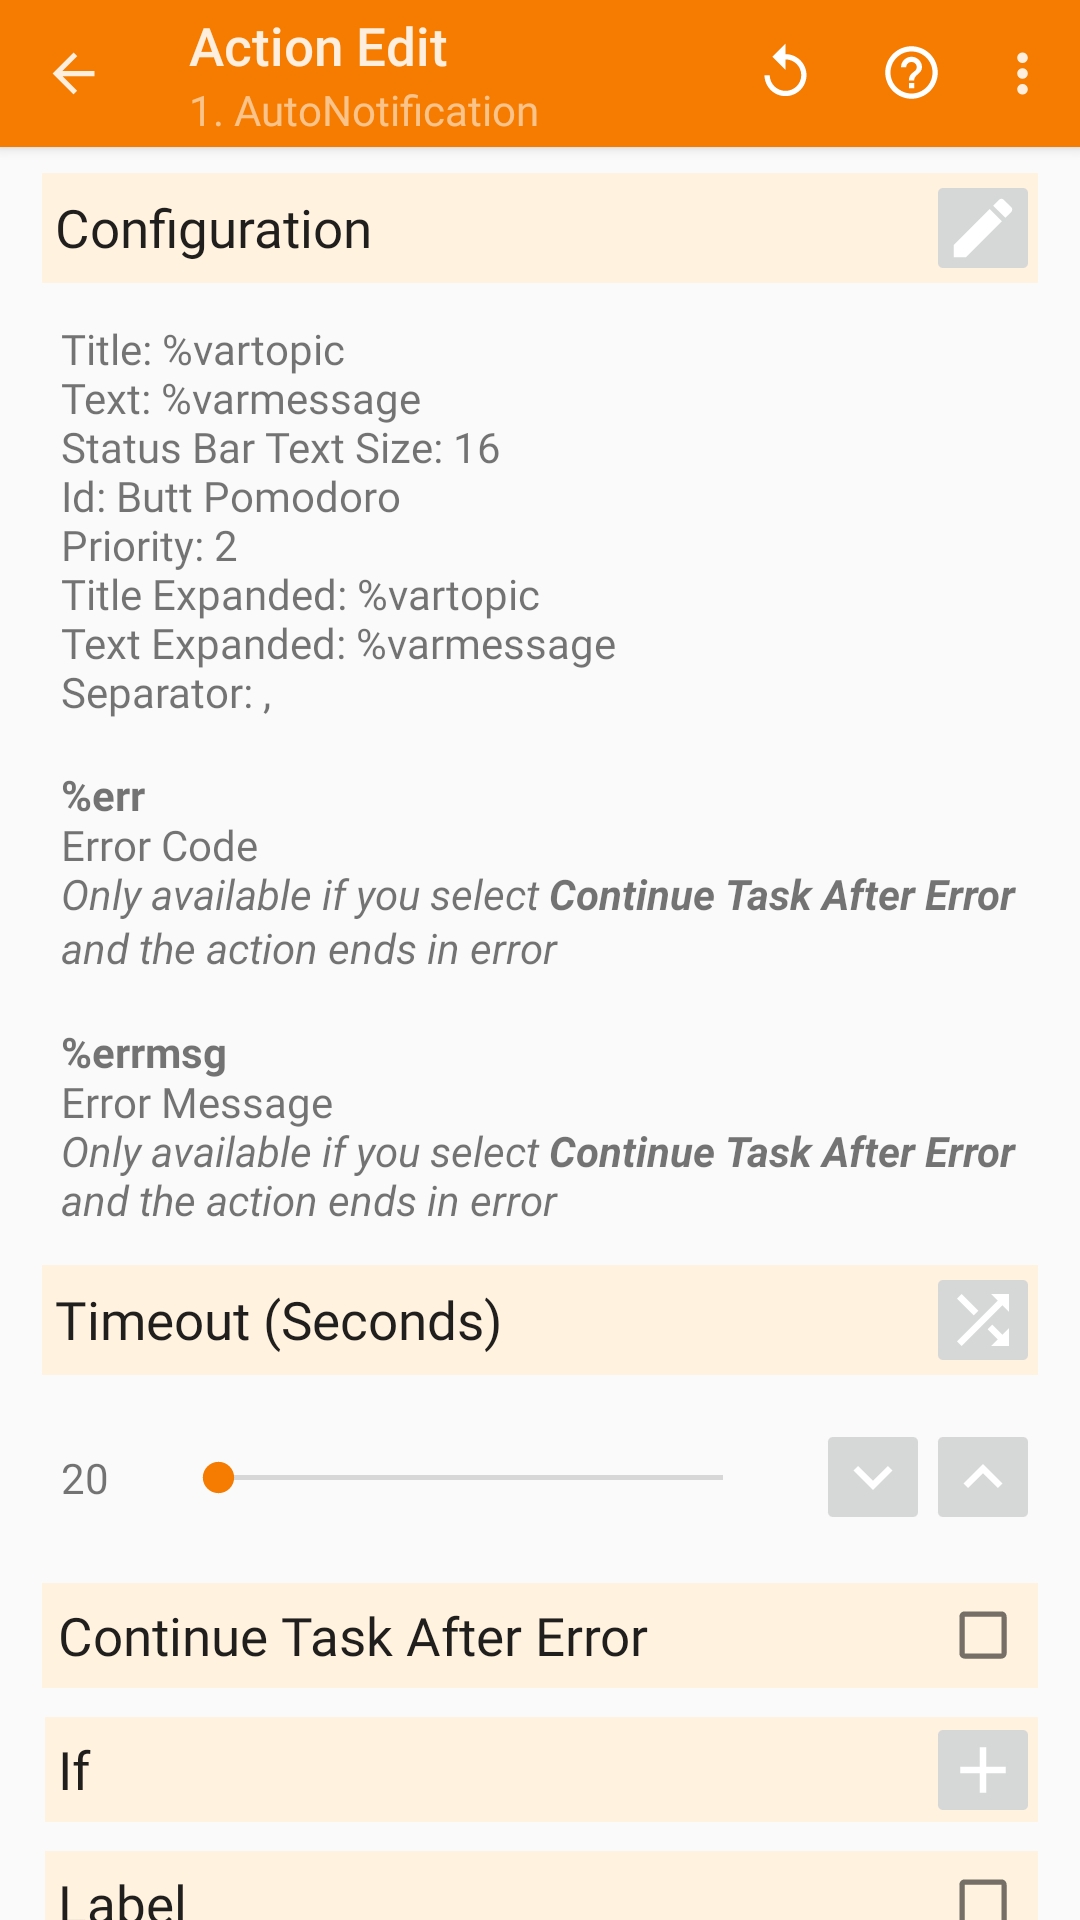
Auto Light Flow Configuration
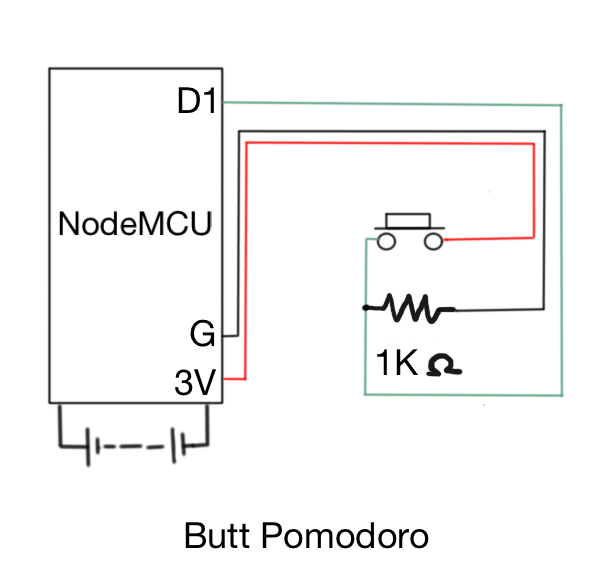
Circuit
Setup
Here is the overview of the complete architecture and the setup.
Butt Pomodoro Architecture
Butt Pomodoro Setup
Code
Source code for the Gobot client is available over the GitHub.
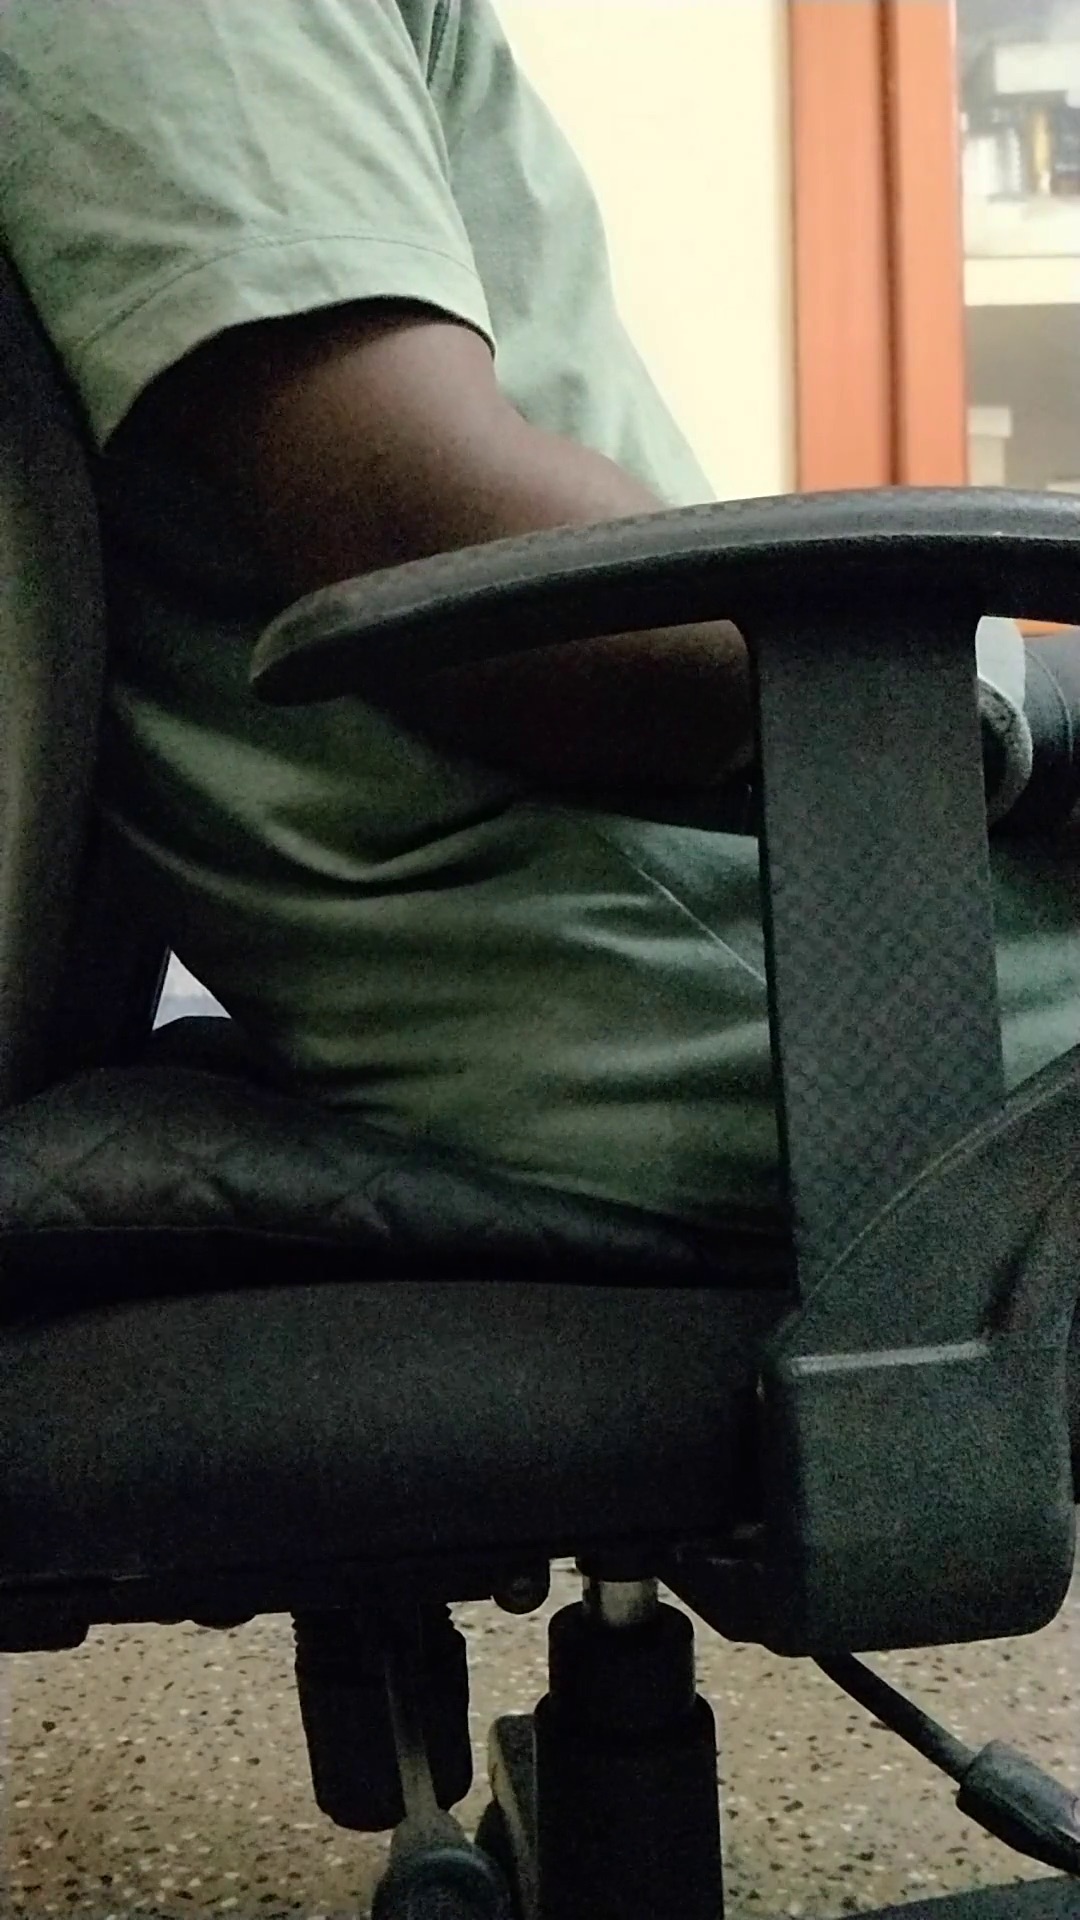
Demo

Demo
Enhancements
Further enhancements which could improve the usability of the Butt Pomodoro -
* Using a PIR (Passive Infrared) sensor as a trigger for contact less butt detection.

* Using a Bluetooth LE based microcontoller to communicate directly with the smartphone for cutting down the separate compute module.

* Custom app record the data on completed pomodoros, incomplete pomodoros, breaks and displaying it with cool visualisations. Of course, for notifications as well.
Disclaimer
Pomodoro®, Pomodoro Technique® are trademarks of Francesco Cirillo.
Update
Butt Mover
I have built a better, more accessible version of a butt triggered productivity and health timer at https://buttmover.com, I've open-sourced Butt Mover at https://github.com/abishekmuthian/buttmoverWebApp with a simplified version at https://github.com/abishekmuthian/simpleButtMover .
Discussion
Discuss this with me on [Twitter](https://twitter.com/Abishek_Muthian/status/ 1483331528684113924).
Change log
2-May-2023: Open-source version of Butt Mover & Simple Butt Mover.
11-December-2021: Launched crowdfunding campaign for Butt Mover.
30-November-2021: Removed affiliate links to the products discussed in this content, Not interested in contributing to the growth of mega corporations and earning through them. Blog is now completely reader supported.
Newsletter
I strive to write low frequency, High quality content on Health, Product Development, Programming, Software Engineering, DIY, Security, Philosophy and other interests. If you would like to receive them in your email inbox then please consider subscribing to my Newsletter.