Abishek Muthian
Getting smoother desktop experience on Raspberry Pi
Raspberry Pi, according to me sits on the same row as smartphones when it comes democratizing computation. Between $5 - $35, these tiny computers are capable of functioning as standalone desktop or power hundreds of IoT projects.
Raspberry Pi foundation consciously price their top of the line computer at $35, wait till the tech is feasible for releasing each generation on that price and even reduce the price further when possible. Their aim was to build Single-board computers for teaching kids programming and have been quite successful at it.
But the desktop experience on a Raspberry Pi were traditionally left to be desired, not entirely because of the low-power hardware but because of system software which were not capable of making use of the available hardware. In this experiment I tried to address few bottle necks in Raspberry Pi (model 3B) which inhibits smooth desktop experience by leveraging latest development in the Raspberry Pi Linux ecosystem.
Power and Thermal
Most of the woes with default Raspberry Pi experience has to do with inadequate power supplied by the power adapter. Raspberry Pi foundation has power recommendations for different models. Their official power supply is rated at 5.1V and 2.5A. I was using iPad 10 W 5.1V 2.1A power adapter for my model 3B, though it was working fine with occasional in-adequate voltage warnings; I have switched to official power supply to limit the number of variables.
The official power supply I received is STONTRONICS DSA-13PFC-05 FEU . Unlike the vertical body models showcased by Raspberry Pi foundation, I received a power supply with horizontal body. Though the model number seems to confirm that it is genuine and it works just fine.
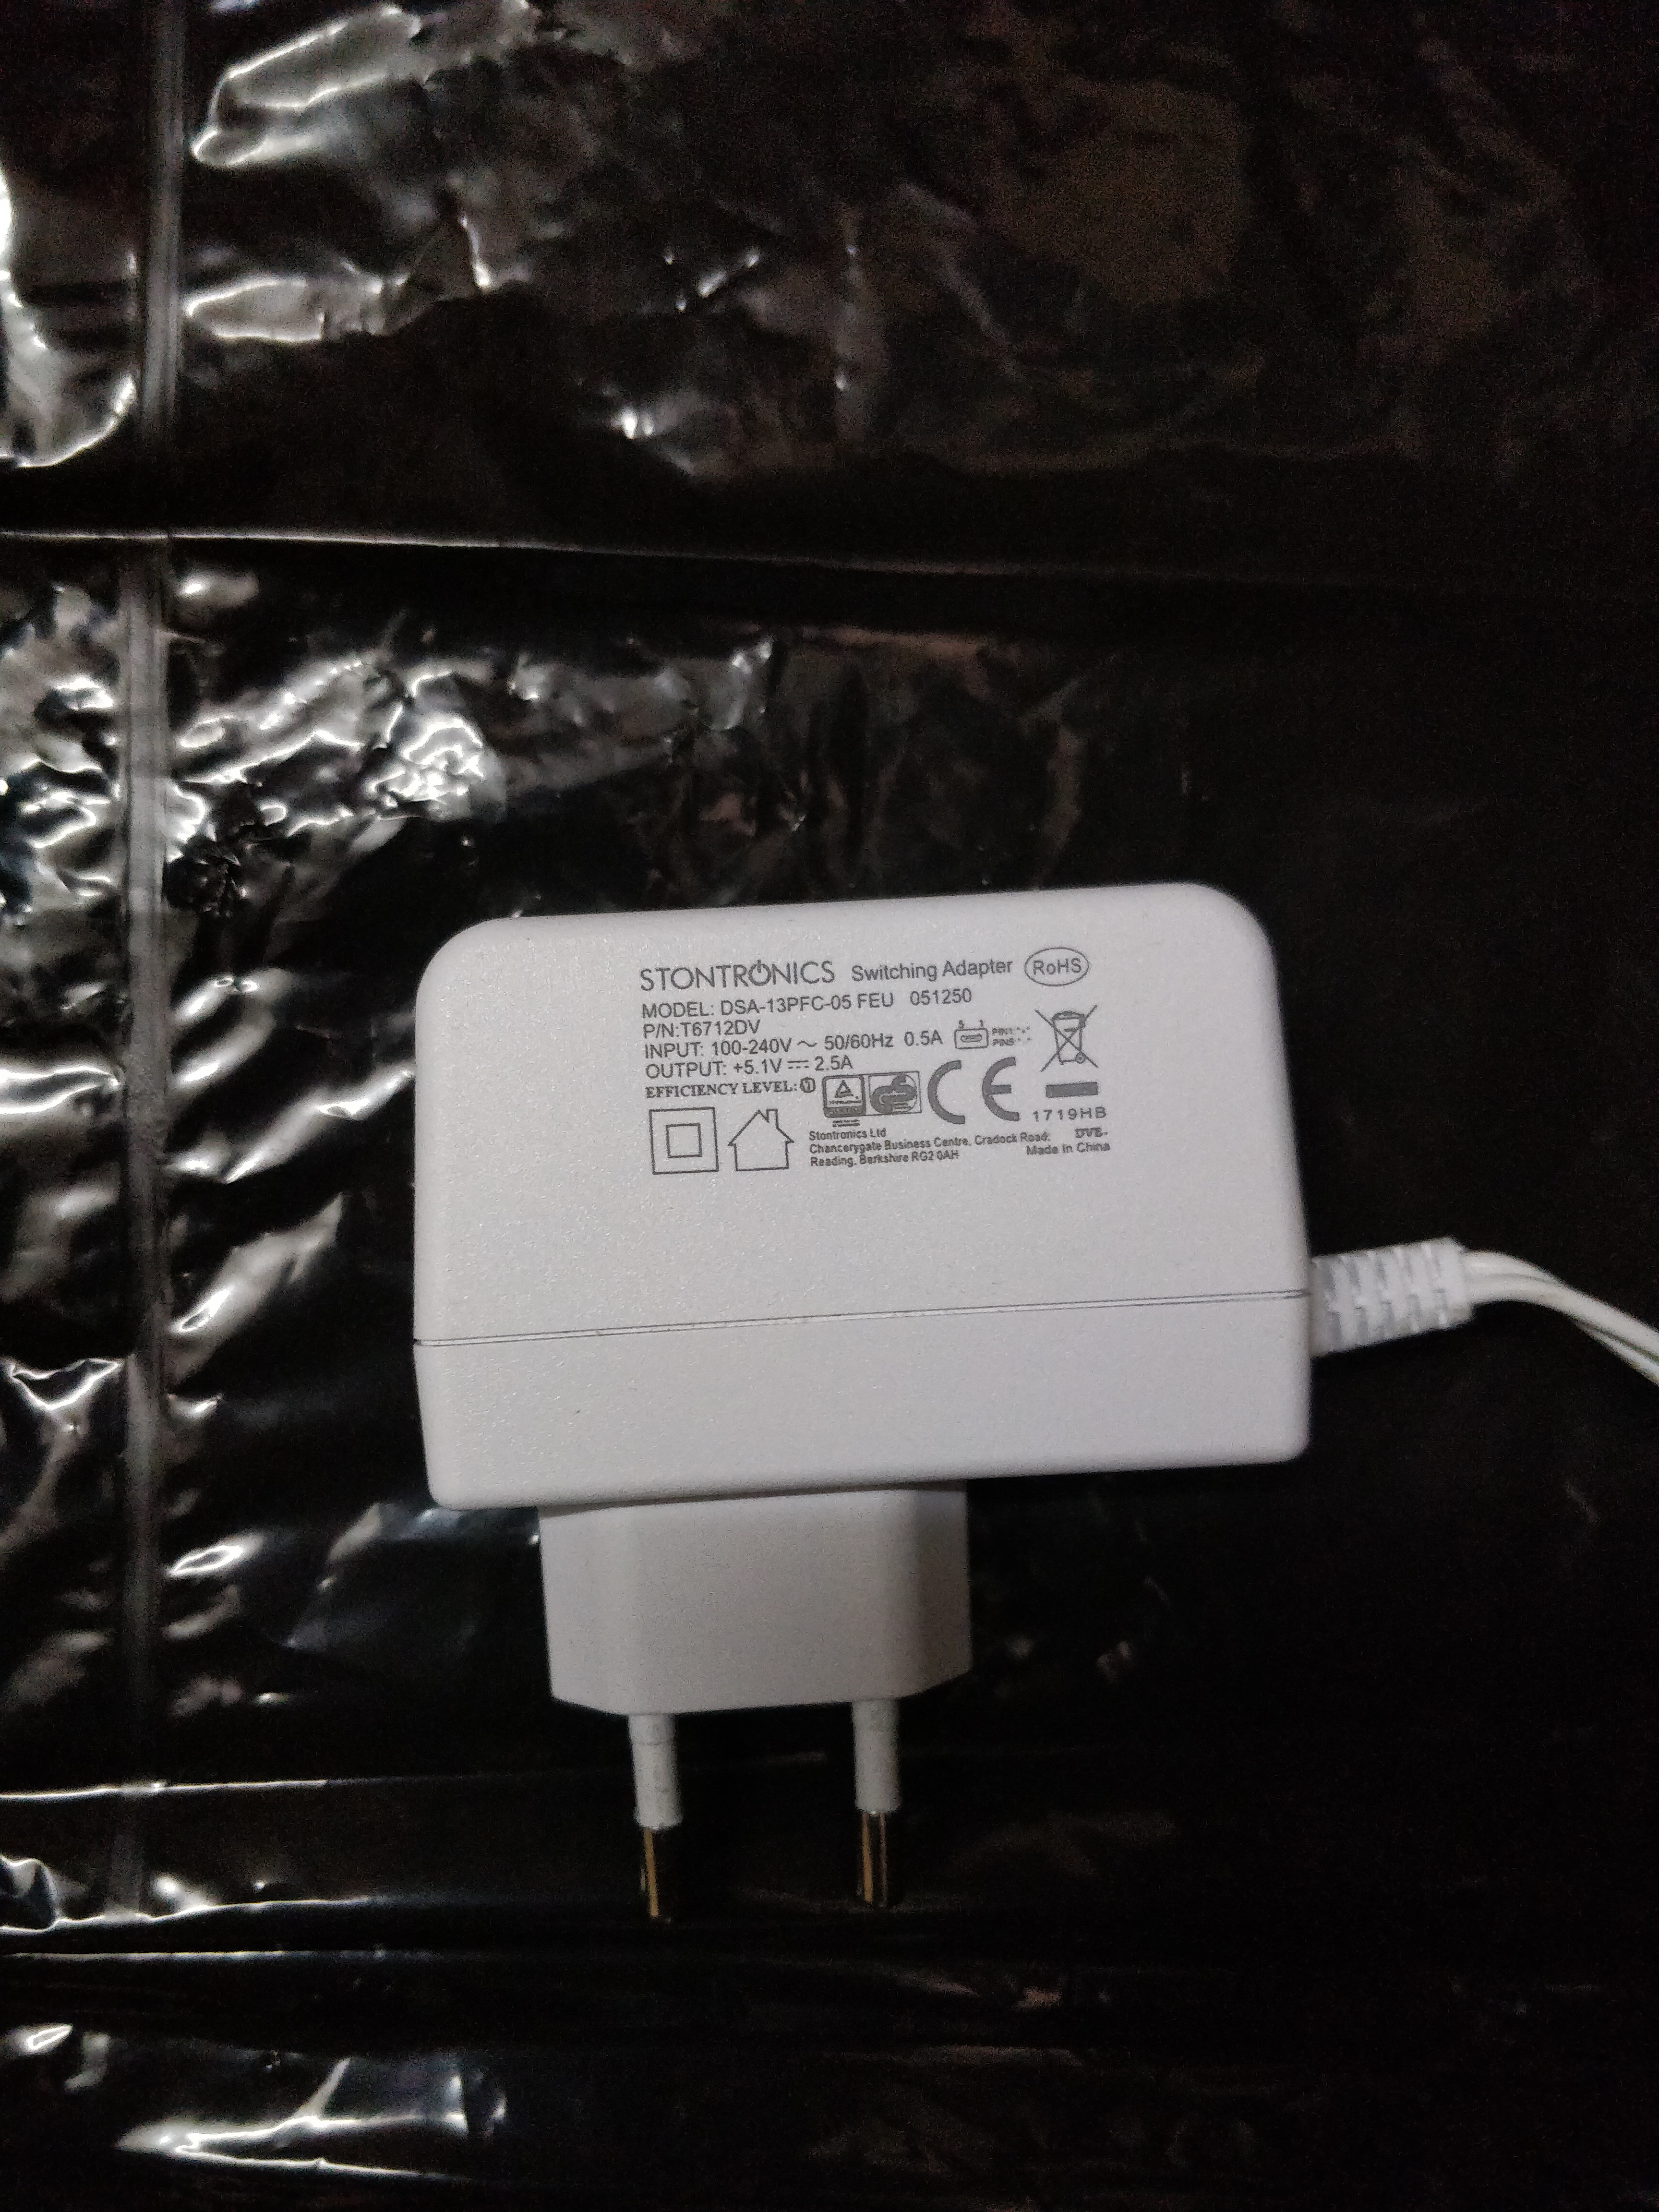 Raspberry Pi Official Power supply - Stontronics DSA-13PFC-05
Another area of concern with Raspberry Pi hardware is the thermals. With intensive tasks, it tends to heat up quickly and due to low performance CPU almost every task becomes an intensive task. Luckily heatsinks for CPU and GPU with a good thermal paste helps contain the temperature. I received the heatsinks with official Raspberry Pi 3 case. Though mounting a fan is a possibility, I feel that it is an overkill for such low power device.
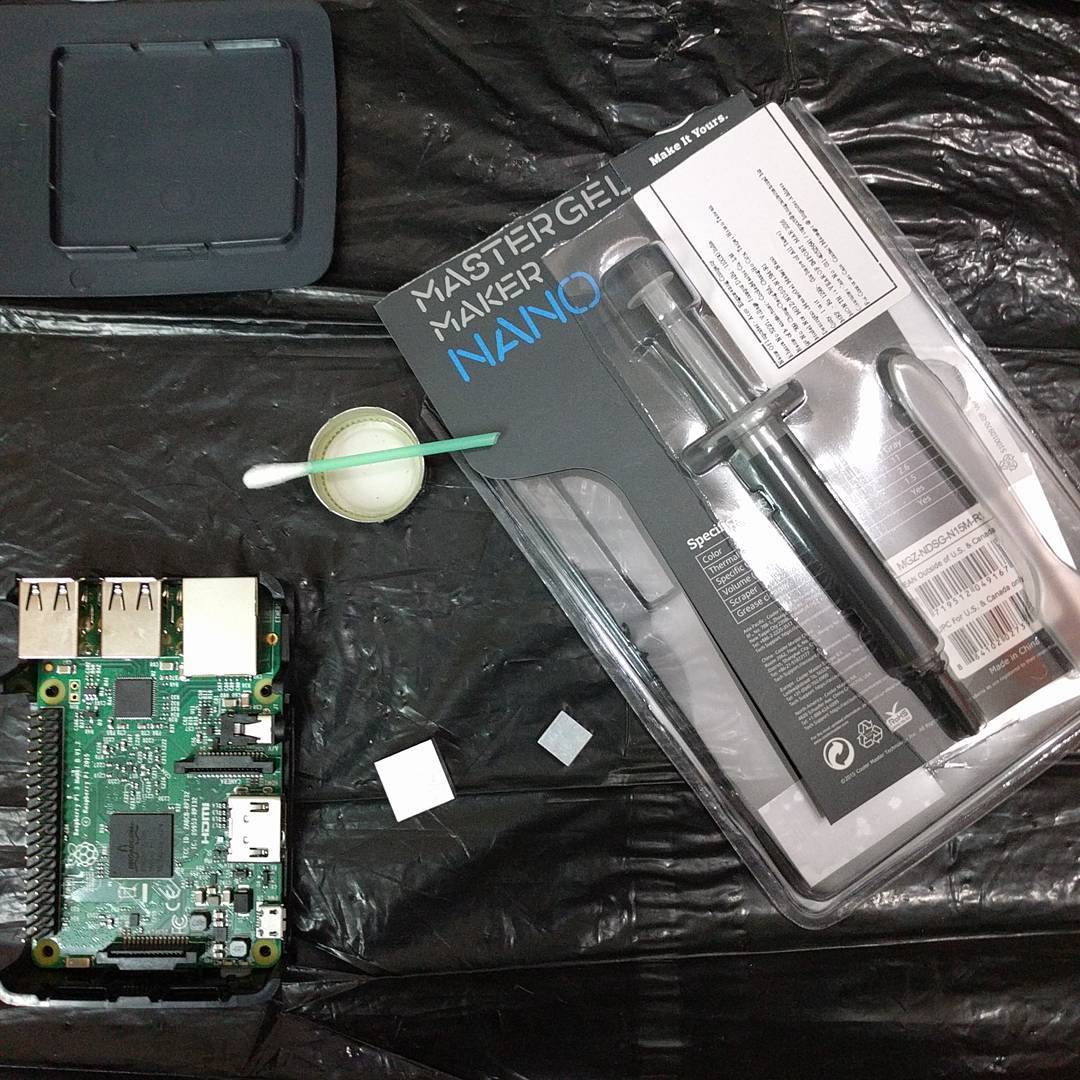 Raspberry Pi official case, heatsinks, thermal paste.
Storage
Default storage mechanism on Raspberry Pi is via SD card due to their lower cost. SD cards are the bane of single-board computers, they are not designed to run Operating Systems as they are supposed to be used for low IOPS activities like storing photographs, videos from digital cameras and mobile phones. As mobile phones grew faster, so did SD cards to store larger media formats; but faster SD cards are more expensive than traditional storage devices like HDD, SDD of computers for larger capacities.
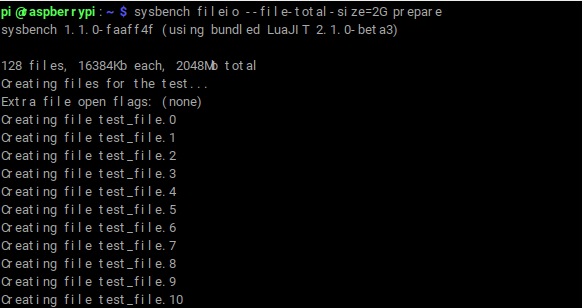
Sysbench test on Toshiba Exceria M301 class 10 UHS-1 16 GB,
 ...
...
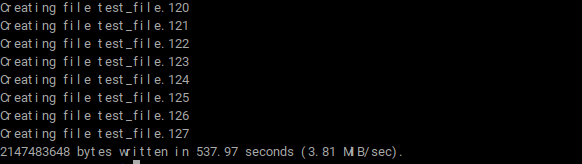
Creating a file larger than the size of RAM for test as it shouldn't be processed in the RAM.
Note: I compiled latest version of [sysbench](https://github.com/akopytov/sysbench) on Raspberry Pi to avoid variables in using different versions supported by different operating systems.
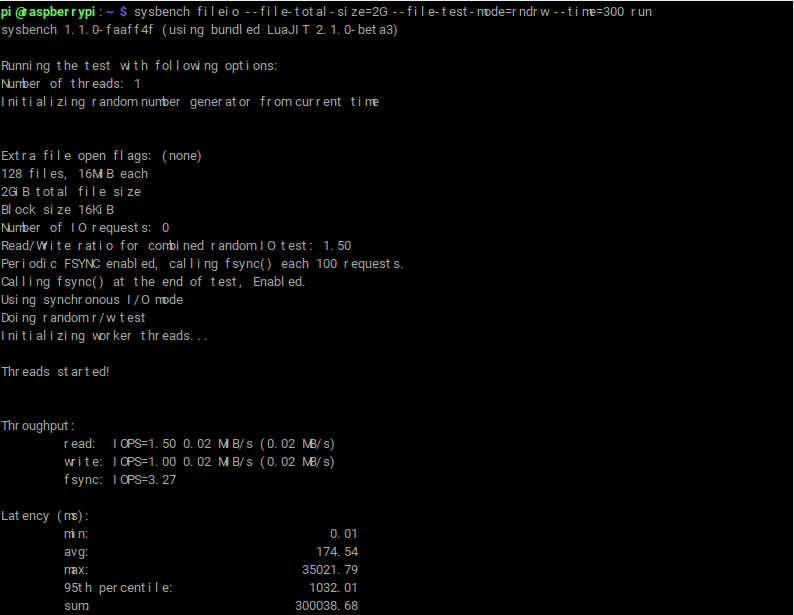 Testing with the created file.
Raspberry Pi foundation, recognized this plight enabled the provision to boot Raspberry Pi via USB storage in their later firmware. I enabled USB boot by setting the one time flag and verified whether the flag was enabled after boot.
 Enabling one time USB boot flag.
 Verifying the one time USB boot flag.
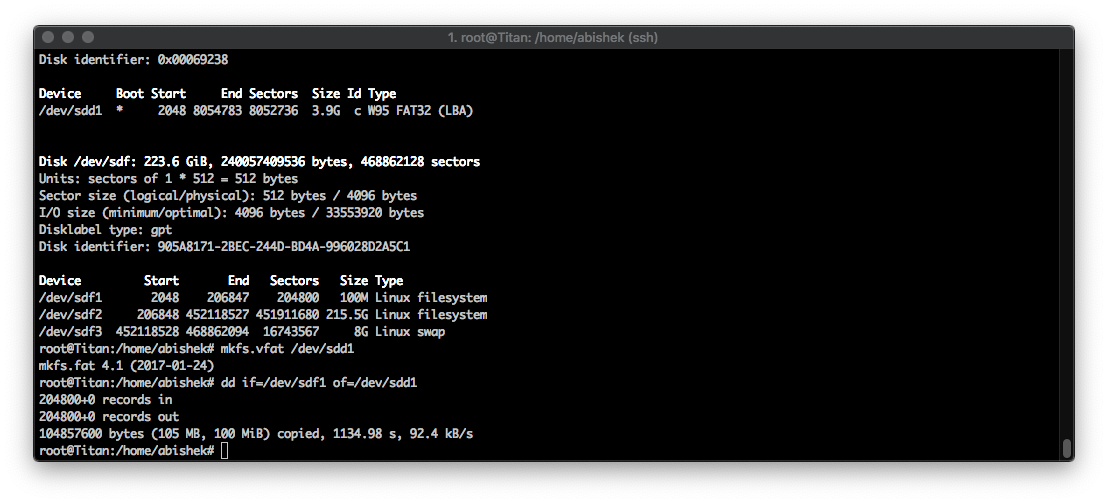
But like many others have reported, the USB boot flag didn't work for me and I ended up booting my USB SSD on Raspberry pi from a /boot partition on the micro SD. Since I need only 100MB for /boot partition, I grabbed a 4GB micro SD from an old smartphone and formatted it in FAT32.
USB SSD
I used a Crucial BX500 as the /root partition, it was the highest scoring device in the Raspberry Pi Storage Benchmark by James A. Chambers. Its not common to see cheapest SSD scoring higher than expensive SSDs, but that is what those data shows. Raspberry Pi's bandwidth is limited to USB 2.0 bandwidth (theoretical maximum of 480 Mbits/s) which is shared with Ethernet and other USB ports; it's likely that the expensive SSD controllers aren't able to deliver their best in this scenario.
 Crucial BX500. Image credit : Crucial.
I used Orico USB 3.0 external SSD case as an enclosure and to connect as storage to the Raspberry Pi.
 Orico External USB 3.0 SSD case. Image credit: Orico.
File system
Default file system for the /root partition is EXT4 in Raspbian (Raspberry Pi's Operating System) like many other Linux based systems, though it is changing fast. Since we are bottlenecked by USB interface for storage, we could improve performance by compressing the files before writing to the storage. This does take CPU cycles, but Raspberry Pi's CPU (Broadcom BCM2837) is perfectly capable of it.
Btrfs is a modern file system which provides transparent compression and is well suited for our application. Goodness of Btrfs for Raspberry Pi is explained well by Russel Graves in his blog. I formatted the root partition in Btrfs.
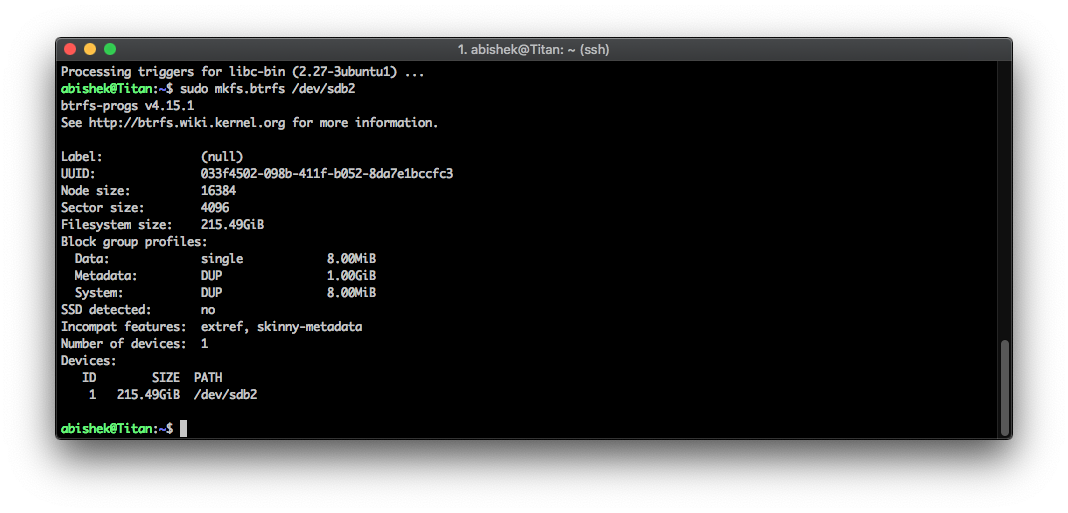 Format in Btrfs, Install btrfs-tools if the filesystem is missing.
Memory/Swap
1 GB memory in the Raspberry Pi is a major limiting factor, though we cannot do much about it as there is no extensible memory slot in a RPi; we can at-least improve how that memory is used. Swap allows us to move old pages from memory to it, a separate 8GB swap partition in my case. Swap should not be used with a micro SD due to the trashing involved.
Swap can be compressed before backing to the disk using zswap technology. This ensures only frequently used memory pages are retained in the actual memory, rest are compressed and backed up in the swap partition.
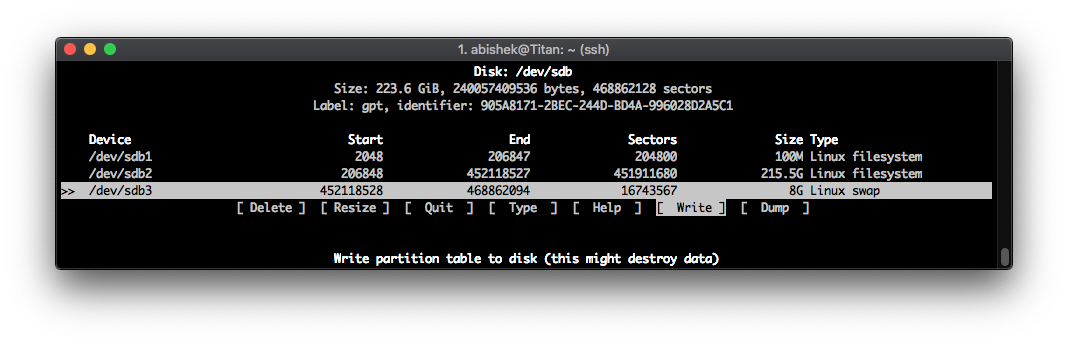
I allocated 100MB for /boot, 8GB for Linux swap partition and rest for /root using cfdisk utility.
Operating System
Raspbian is the default operating system for Raspberry Pi from Raspberry Pi Foundation based on Debian Linux Distribution. It is built for stability, though performance improvements to the software and desktop environment are being made constantly it still leaves lot to be desired for a power user.
The improvements mentioned here are not straightforward to implement in the Raspbian as it requires kernel patches and compilations which will take hours on a Raspberry Pi. Fortunately we have a better operating system - archlinux ARM built by Arch Linux community form ARM architecture.
Arch Linux distribution is based on rolling release model, where we can install it once and all future upgrades are done via updates. I am using upstream Arch Linux on more powerful machines and have only good things to say about it. In the context of Raspberry Pi desktop experience improvements it makes a perfect fit, since it has default support for btrfs filesystem, zswap and VC4 graphics (more on that later).
I downloaded AArch64 (64-bit) version from here and had to tweak the installation procedure a bit as follows,
Mounting root partition and boot partition of the USB SSD to local directories ~/mnt & ~/mnt/boot respectively.
 Mounting root to the local directory.
 Mounting boot to the local directory.
I extracted the ArchLinuxARM-rpi-3-latest.tar.gz (tar -xzvf) in ~/mnt . I used tar to extract instead of bsdtar as in the ArchLinux ARM installation guide because the latter gave me errors and stopped abruptly in spite of compiling latest version of bsdtar. I expect the reason to be btrfs filesystem, tar gives warnings about some flags as well; but it can be ignored safely.
I used arch-chroot tool, to automatically mount necessary directories for doing some Arch Linux host system related changes on the USB SSD before booting it on Raspberry Pi.
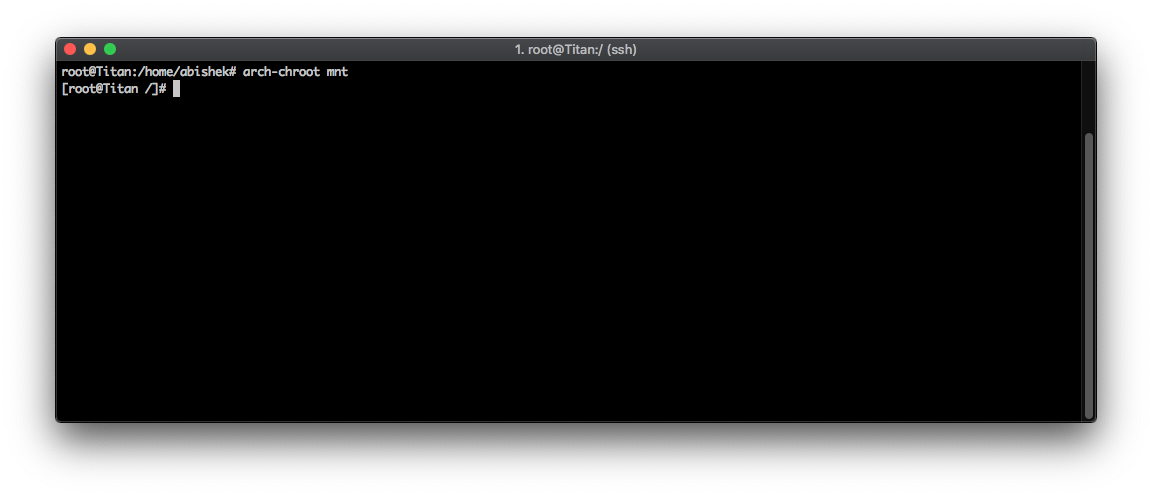 arch-chroot mnt
Mounting local filesystem using arch-chroot
I initialized the pacman keyring, populated ArchLinux ARM package signing keys and updated the packages.
pacman-key --init
pacman-key --populate archlinuxarm
pacman -Syyu
I added btrfs to the MODULES in /etc/mkinitcpio.conf (arch-chroot) for the initial ramdisk to detect the file system and executed 'mkinitcpio -p linux' to rebuild the initramfs.
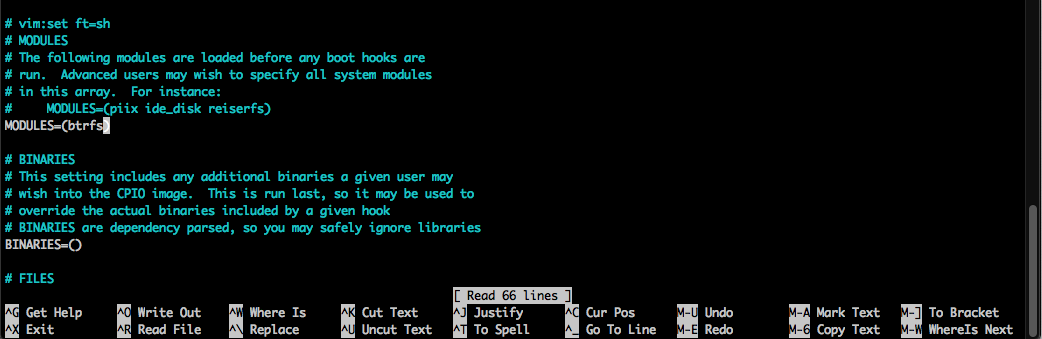 Adding btrfs to MODULES.
I installed uboot-tools (pacman -S uboot-tools), added some boot arguments to set root partition, root filesystem and zswap parameters.
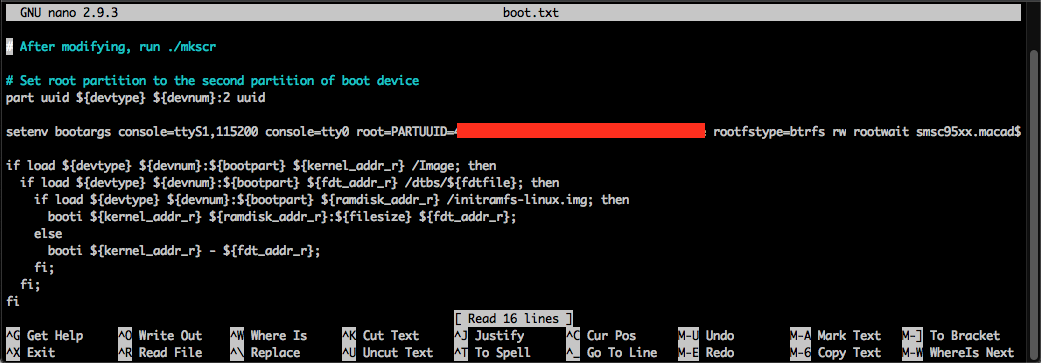 Adding parameters to the boot.txt.
root=PARTUUID=[PARTUUID of the root partition from blkid],
btrfs to the rootfstype to the boot.txt located in the /boot (arch-chroot),
swap.enabled=1 zswap.max_pool_percent=15 zswap.zpool=z3fold,

Executed './mkscr'.
Here is a picture of all the boot arguments.
 boot.txt
I tried booting from USB SSD on the Raspberry Pi, but the USB boot flag didn't work for me and hence I copied the /boot partition from the USB SSD to a 4GB micro SD card.
 Transferring /boot partition from USB SSD to micro SD card.
With the micro SD in Raspberry Pi, I was able to boot properly with the root filesystem on USB SSD.
I added boot and root partitions to the /etc/fstab.
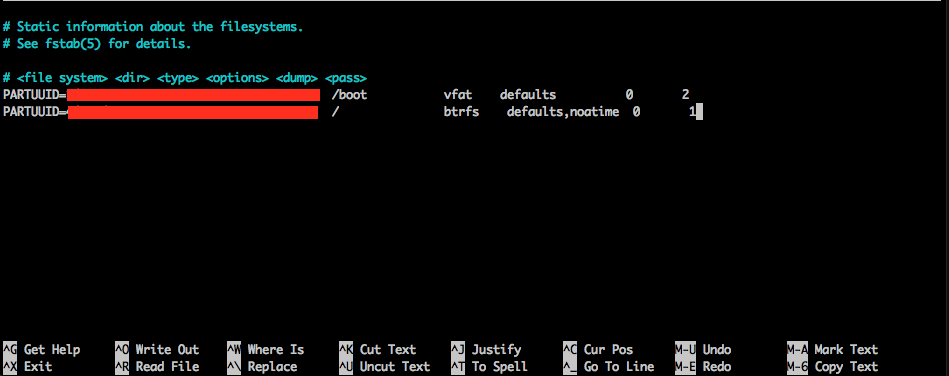 /etc/fstab
Testing with sysbench on SSD after disabling swap (swapoff -a).
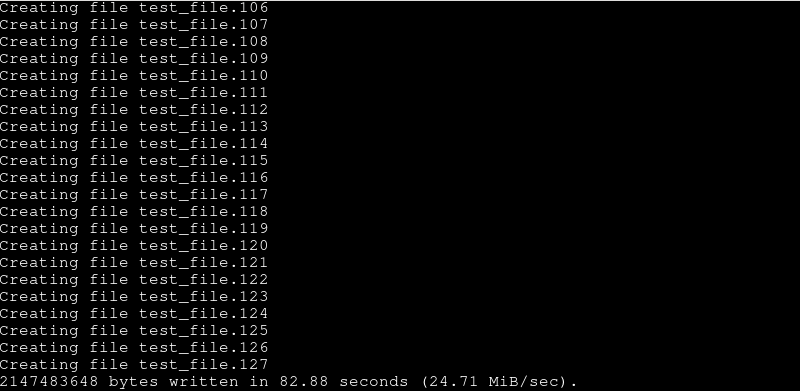 Creating file larger than RAM (2G).
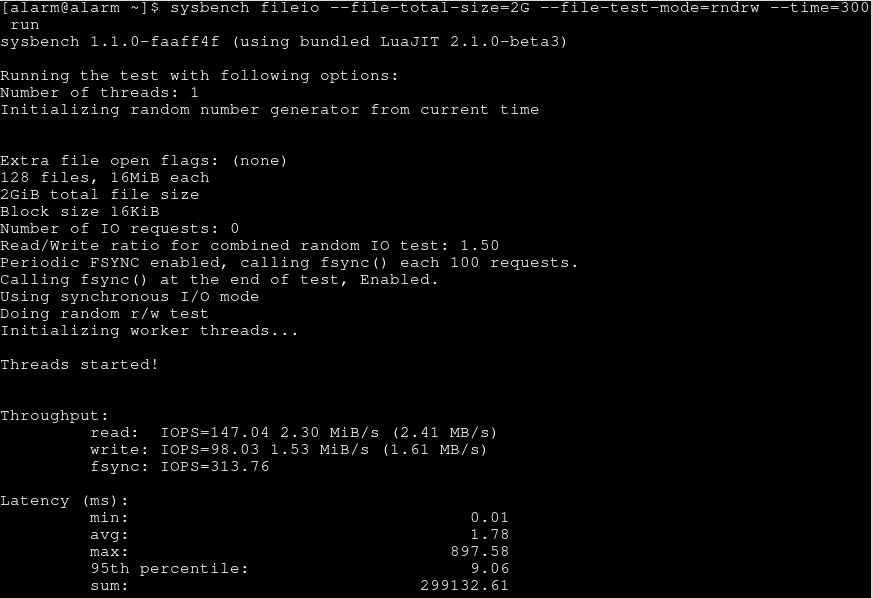 Sysbench SSD results
Sysbench results shows excellent improvement to throughput and latency from what we saw when using the micro SD card.
Desktop Experience
The objective of performing all the above procedures was to get a smooth desktop experience. By smooth, I mean not getting reminded that I am on a cheap (inexpensive) computer every single time I drag a window or open any application.
Desktop experience in Linux has many stake holders such as graphics driver, graphics library API, display server, display server protocol, desktop environment, compositor etc.
Broadcom was late to release an open-source graphics driver for Raspberry Pi which could make use of the GPU for hardware acceleration purposes. The Arch Linux ARM has that driver (VC4) enabled by default.
Broadcom GPU on RPi supports OpenGL 2.0 graphics API, VC4 driver enables the support for it and using which applications can perform much powerful rendering on GPU instead of doing much of it in CPU known as software rendering offering slow graphics experience. Modern GPUs use more powerful Graphics API called Vulkan which is expected to be supported in the future upgrades of Raspberry Pi hardware, though some enthusiasts are working on minimal support for RPi.
Raspberry Pi 4
As I was writing this, to everyone's surprise Raspberry Pi 4 has been released with better hardware. Vulkan support on Raspberry Pi 4 seems to be under exploration phase. So all the improvements discussed here should still apply on Raspberry Pi 4 and should offer better Desktop Experience than on model 3B due to more powerful hardware.
Most common display server and display server protocol in Linux are X.Org (X server) and X11. Display server and its protocol determines how the graphical user interface behaves in a desktop environment. A new display server protocol called Wayland has been in works for quite some time and due to its efficient architecture it is supposedly faster than X server. From my experience with Wayland on Chrome OS, smartwatch and with Raspberry Pi for this experiment; the claims of performance improvement by Wayland proponents does seem to be true.
Further Raspberry Pi Foundation showed a preview demo of Raspberry Pi running Wayland in 2013, which seemed like a solution to all slow desktop woes. Unfortunately Wayland on RPi did not materialize as of this writing in 2019 and it may be far from it because of the way Wayland works. Applications which were using X server traditionally, needs to be reworked to use Wayland and along with making it play nice with the graphics driver. Josh Marinacci has written a nice blog on why Wayland hasn't become a reality in Raspberry Pi.
Desktop Environments
Due to the openness and modular nature of Linux ecosystem, we have several options for a desktop environment. A desktop environment provides GUI, window management, default applications and even provide libraries for building applications to make use of features available on that desktop environment. Raspberry Pi requires desktop environment of low footprint because of its low power hardware.
LXDE + Openbox on Raspbian + X server
Default operating system from Raspberry Pi foundation - Raspbian has a desktop environment built from LXDE and Openbox. Though it is slow with lot of screen tearing due to not being hardware accelerated by default, all the apps work consistently due to meticulous development and testing by Raspberry Pi foundation.
The following video should show what I mean and also few tests on default Raspbian and Raspbian with VC4 enabled. These tests were done in Raspbian installed on micro SD for staying close to default experience offered on Raspberry Pi with X server.
Watch video on YouTube
Raspbian with VC4 and without VC4 on a micro SD
As you can see from the video, the experience of Rasbian on micro SD card is far from ideal, enabling VC4 driver seems to help a bit with the screen tearing issues. But we can do better.
Enlightenment + Wayland + Arch Linux ARM + USB SSD
Enlightenment is one of the few desktop environments with their own Wayland compositor. A compositor is mandatory in Wayland for window management, popular Linux desktop environment like Gnome has its own compositor but is too heavy for Raspberry Pi hardware. I tried to install Gnome for this experiment but in vain.
Enlightenment developer Carsten Haitzler (rasterman) had shown a demo of Raspberry Pi running Wayland on Enlightenment, which is one of the few existing proof of Wayland on RPi. Motivated by this, I compiled and installed Enlightenment for RPi on the Arch Linux and the experience was not I anticipated.
Though the Enlightenment desktop environment on Raspberry Pi was the fastest I've witnessed so far, it is unusable since both the applications which depend on XWayland (A bridge between Wayland & X server) and Wayland supported applications crash on Raspberry Pi.

Enlightenment with Wayland on Raspberry Pi
Above video summarizes my experience with Enlightenment, both with OpenGL renderer and software renderer.
As I mentioned earlier applications need to be reworked for native Wayland support and they usually start with XWayland support which allows them to use Wayland compositor with little or no changes. Prominent applications such as Firefox, Chromium haven't still reached stability with Wayland support on X86 computers and so expecting them to work on Raspberry Pi in Wayland environment was overzealous to start with.
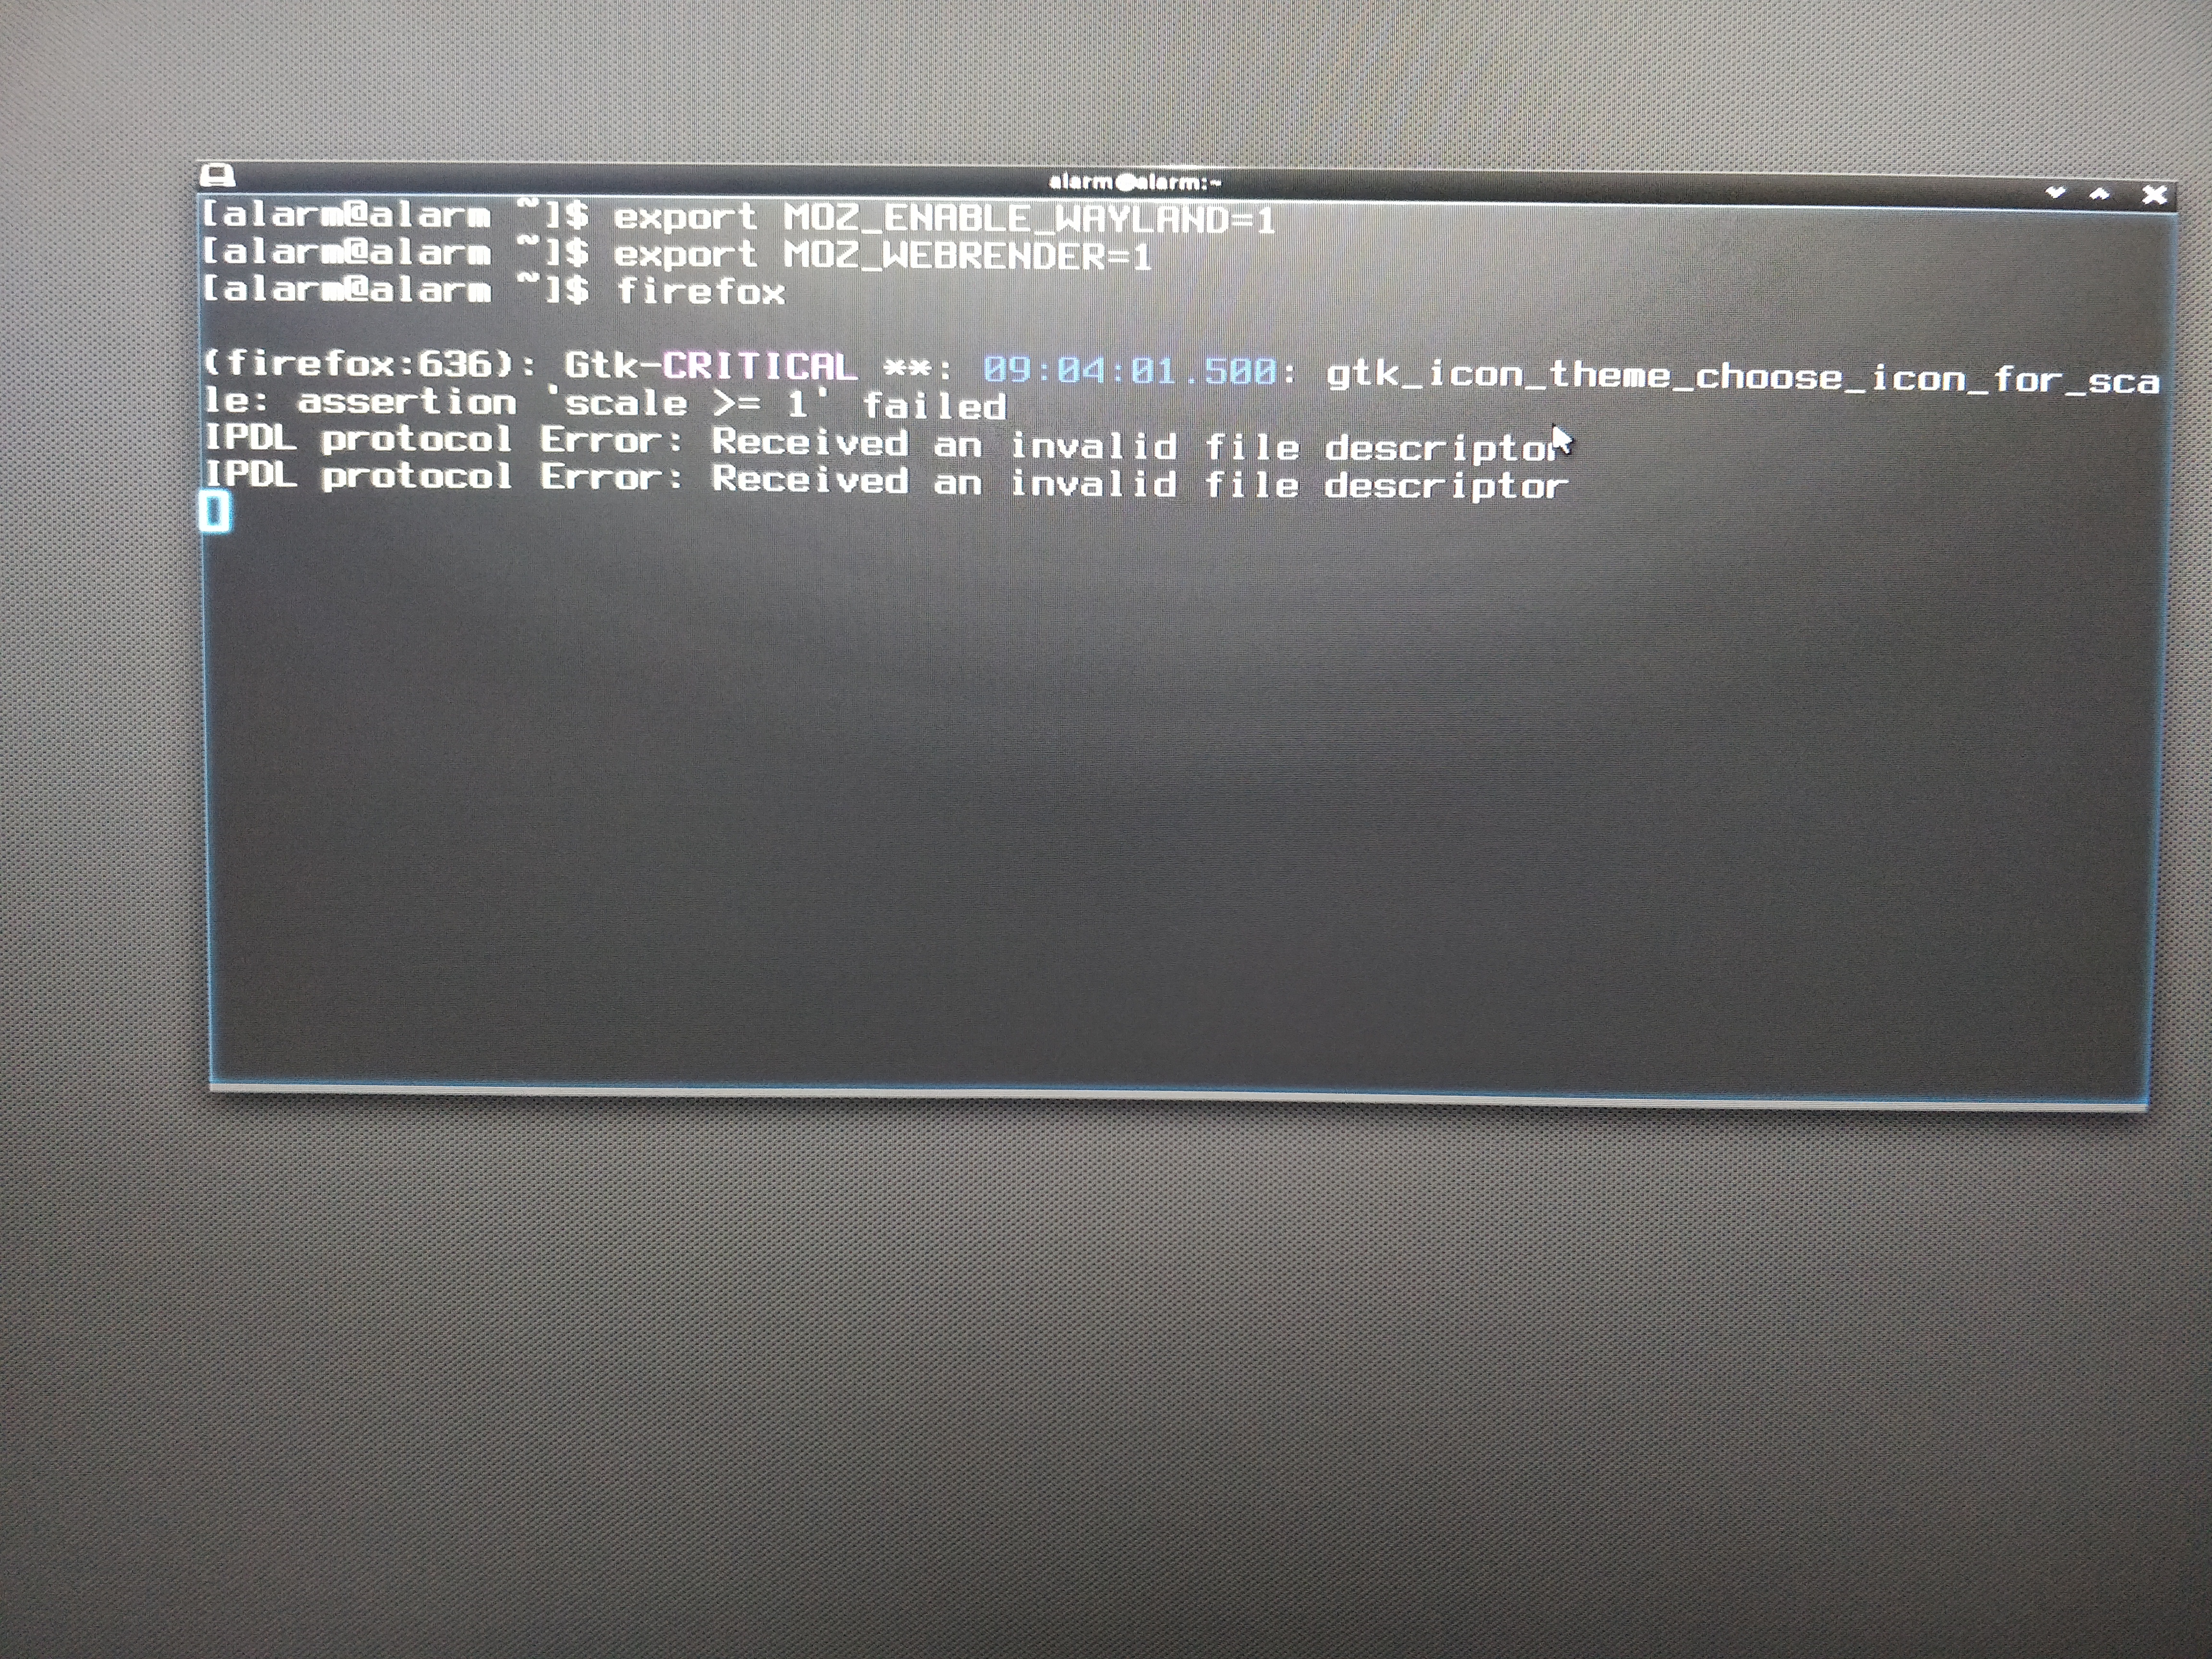 Firefox with Wayland environmental variables crashed.
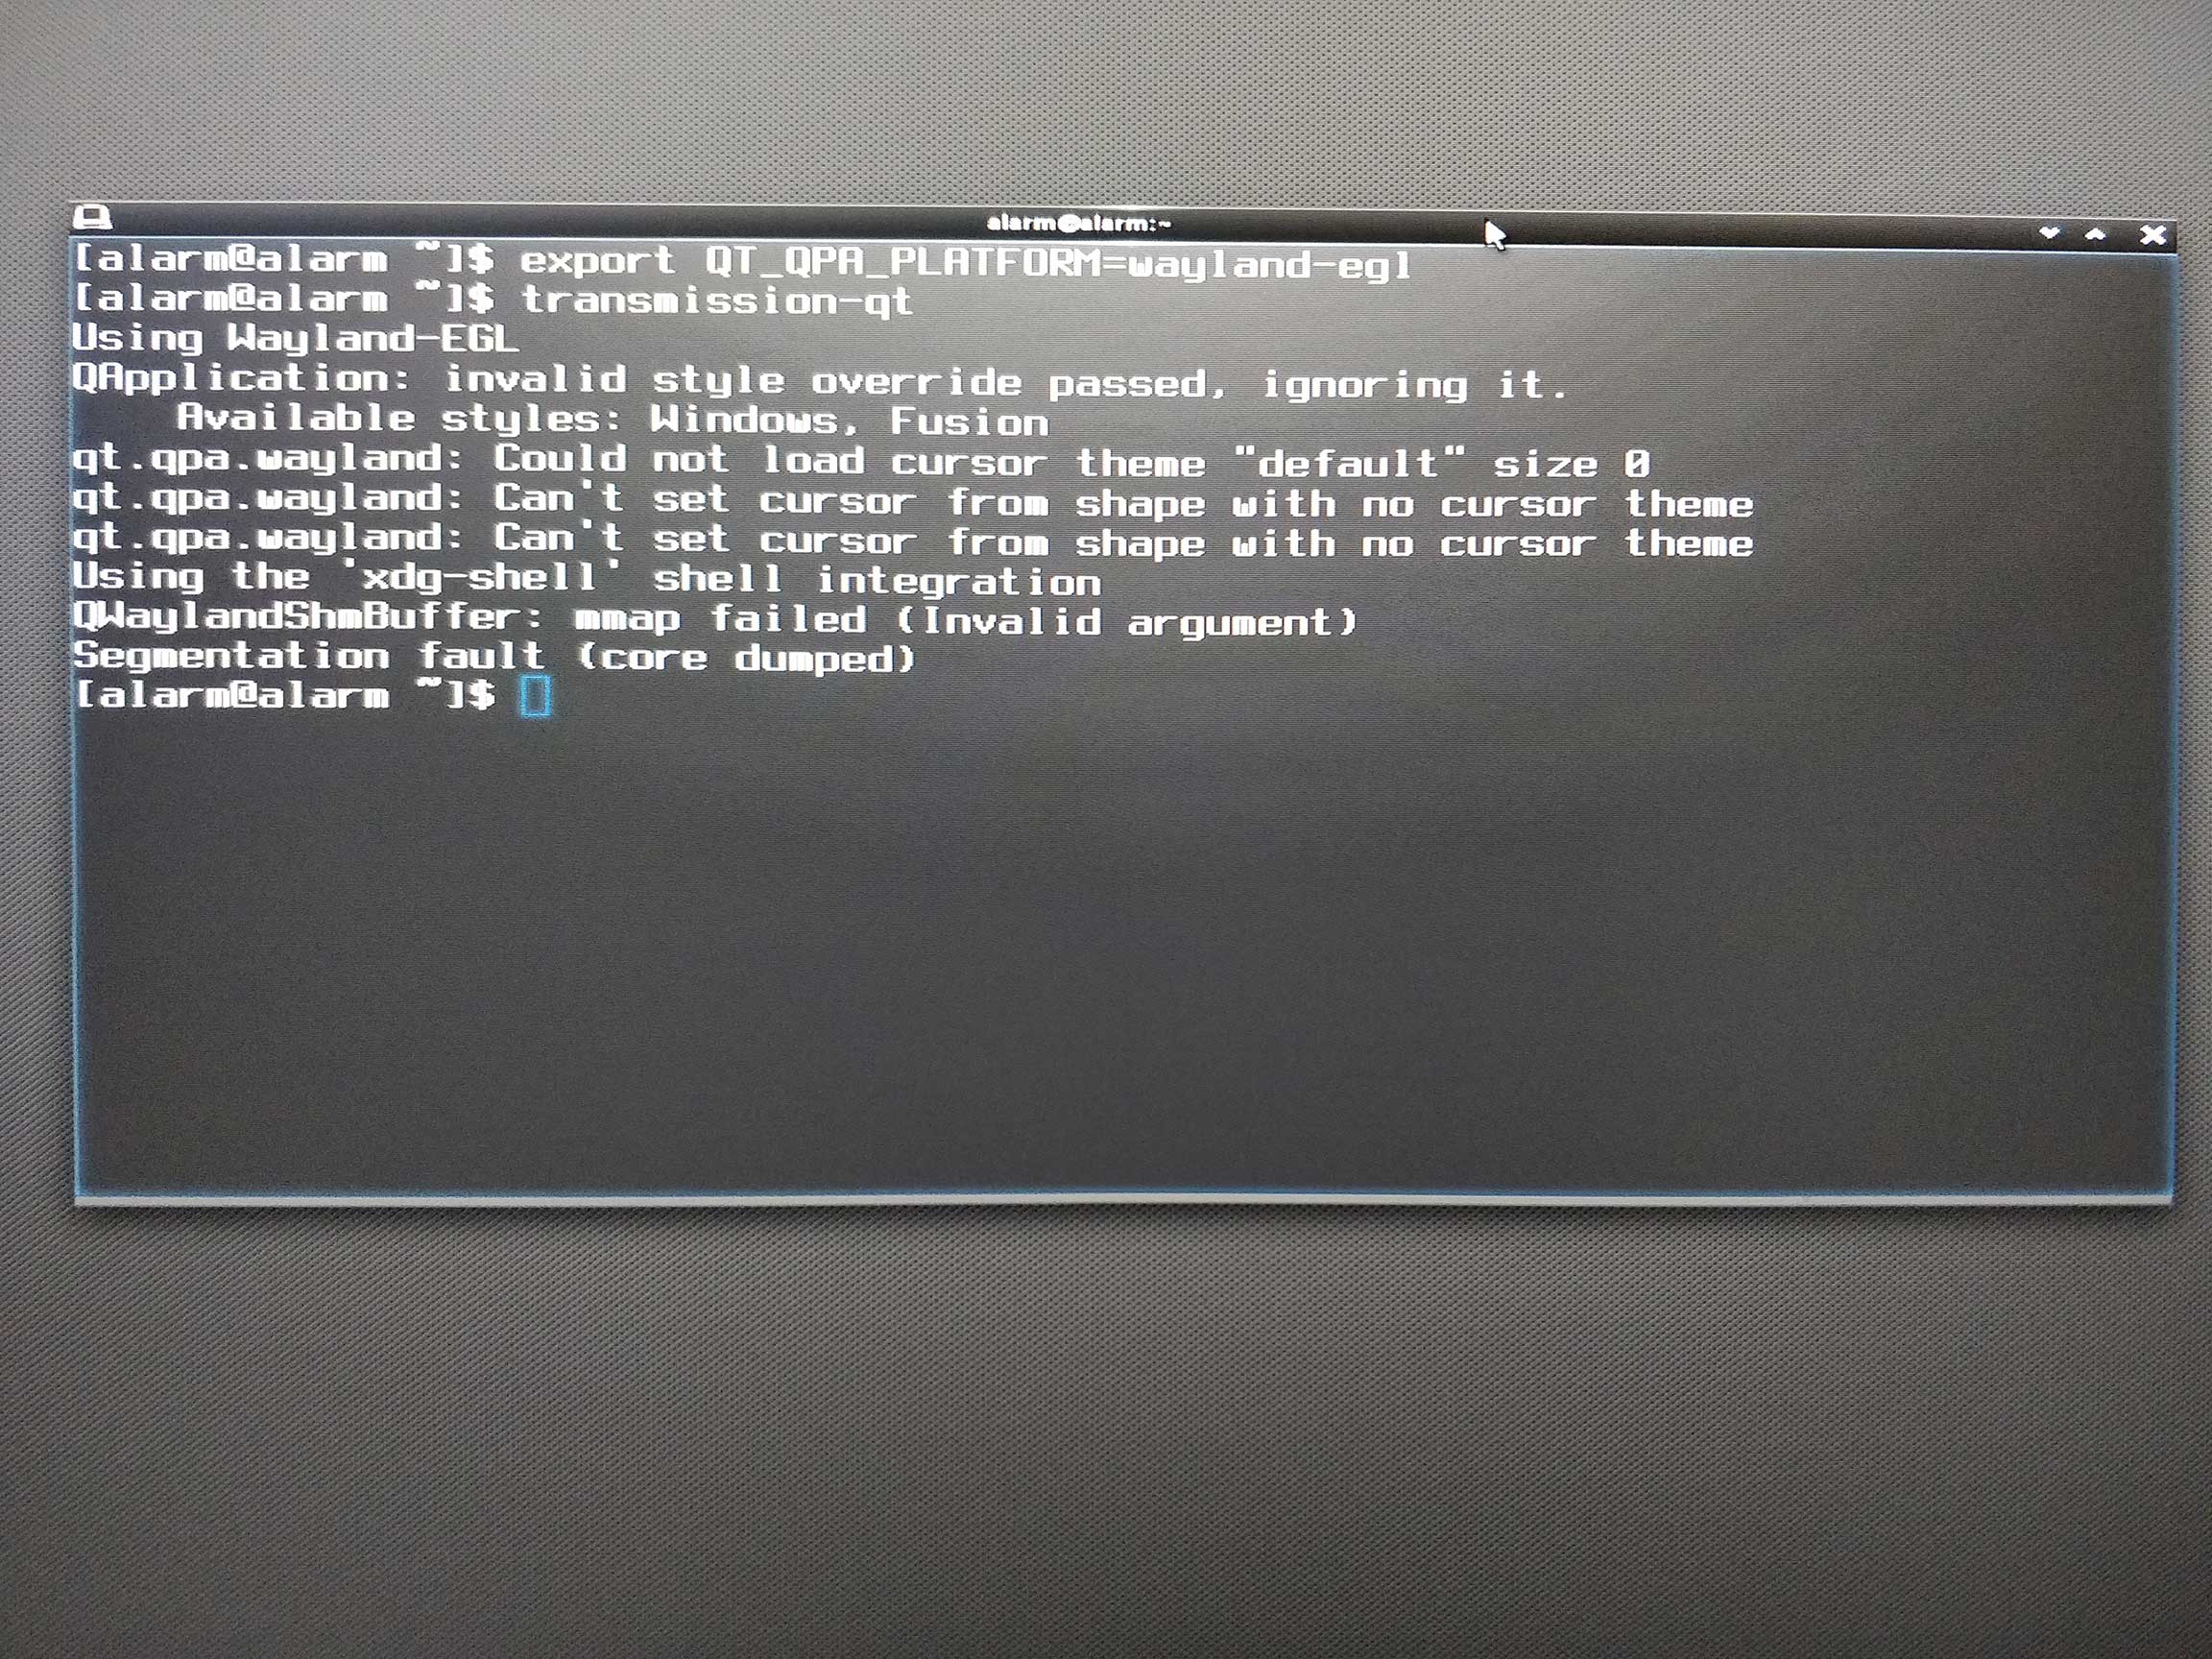 Transmission-Qt with Wayland support crashed with appropriate Wayland environmental variables.
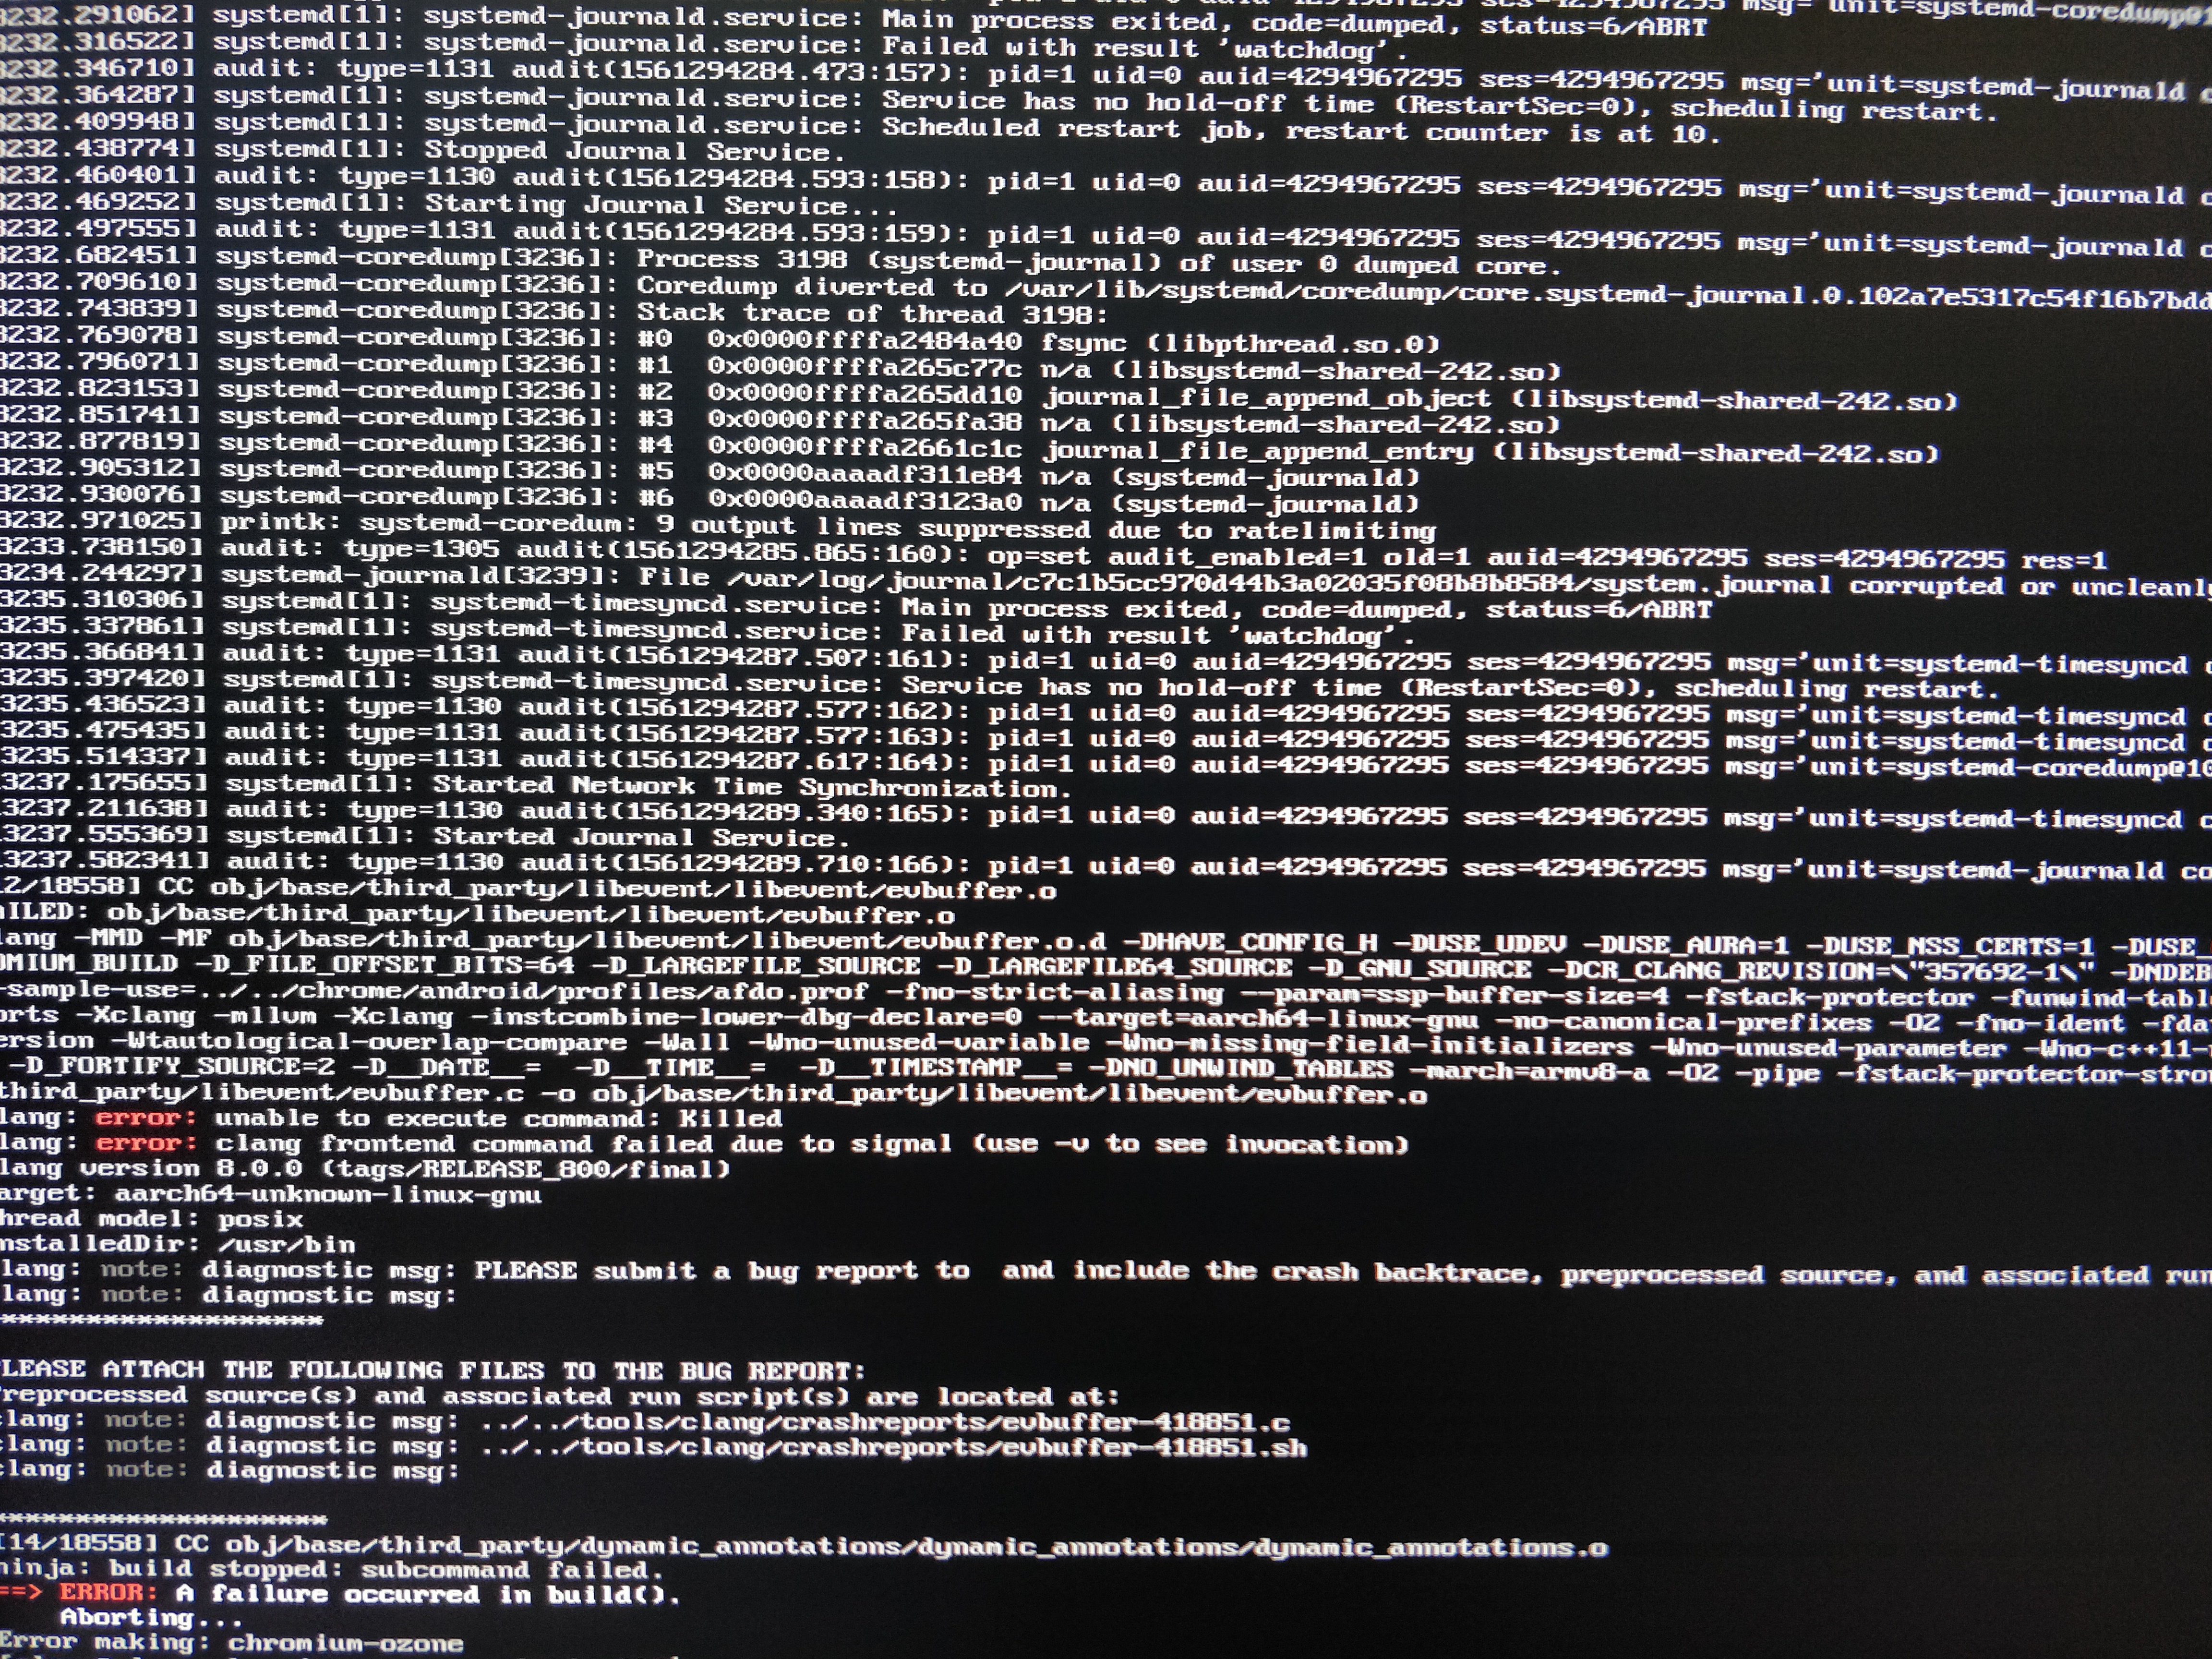 Compilation of chromium-ozone-wayland on Raspberry Pi failed.
I tried to compile chromium-ozone-wayland For Raspberry Pi without success. It takes 4-5 hours for each build before spewing an error, this is not an activity for someone who cannot allocate time for such things.
I contacted Carsten Haitzler on Enlightenment IRC to know about his experience and to clarify some doubts. I was told that his demo with RPi Wayland was one-off and he didn't spend much time on getting any other applications working on Wayland with RPi except for the few he showcased in the demo.
Display Resolution
Carsten Haitzler also explained to me that the reason for display resolution limited to 1920x1080 on my ultrawide 2560x1080 monitor with OpenGL on RPi is because of its framebuffer limited to 2048x2048. So if I want a display resolution greater than 2048x2048, I have to stick to the slow software rendering on Raspberry Pi. Note that the first demo of RPi on default Raspbian with SW renderer does display in full-mode i.e. 2560x1080.
Xfce4 + VC4 + X server + Arch Linux ARM + USB SSD
Another light weight desktop environment suited for Raspberry Pi's low power hardware is Xfce. It is being used in famous Linux distro such as Xubuntu and many others. I noticed that Xfce4 based on Gentoo Linux and VC4 driver is being developed for Raspberry Pi with good results by Sakaki. Since I don't have experience with Gentoo Linux and I'm more comfortable with Arch Linux, I installed Xfce4 on it with commendable results.
The following demo shows Xfce4 in Raspberry Pi with X server, VC4 driver, Arch Linux with both OpenGL renderer and software renderer.
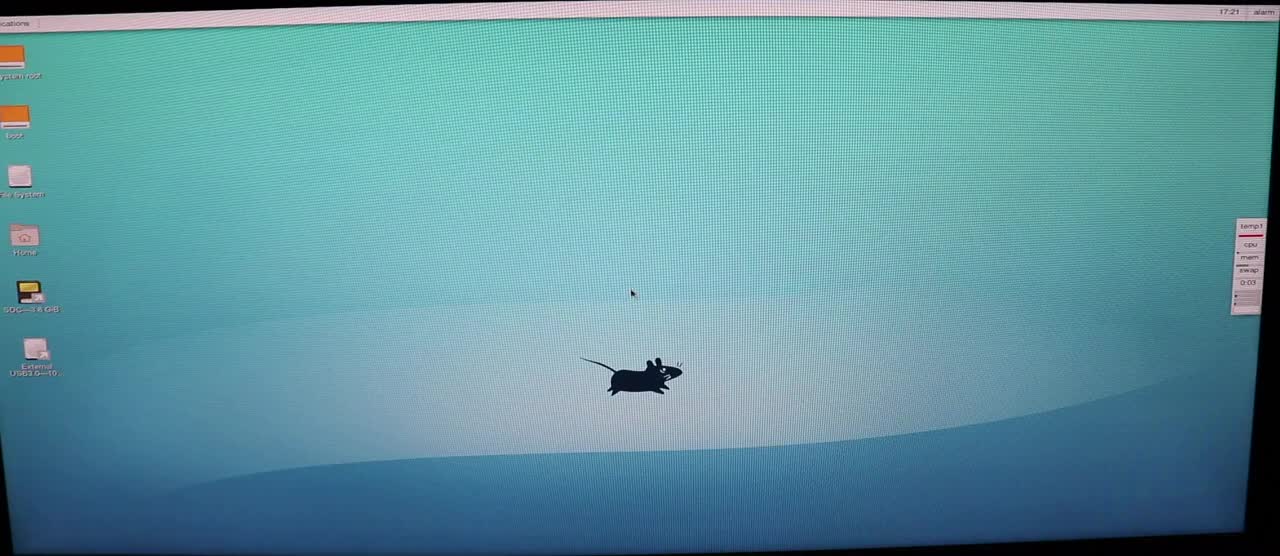
Xfce4 on Raspberry Pi with and without VC4
As the video shows, though the windowing experience is not as crisp as that on Enlightenment + Wayland; it is the best overall desktop experience. All applications work as intended just like in Raspbian albeit being much smoother. So this is where, I would settle.
Recommendations
Best overall desktop experience: Xfce4 + VC4 + X server + Arch Linux ARM + USB SSD.
Best window manager experience: Enlightenment + Wayland + Arch Linux ARM + USB SSD. Only if you are ready go into the rabbit hole of getting applications to work with this setup.
Improving default Raspbian experience with minimal effort: VC4 + USB SSD.
Change log
6-November-2021: Removed affiliate links to the products discussed in this content, Not interested in contributing to the growth of mega corporations and earning through them. Blog is now completely reader supported.